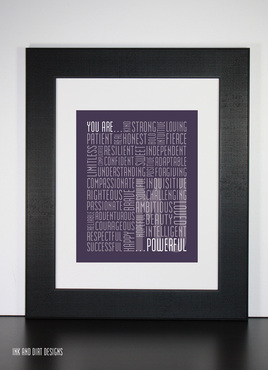
 I have a young daughter and I love to see her play, sing, learn and be the little girl she is. Like all parents, my wish for her is to grow up happy, healthy, successful and confident. She has so many wonderful characteristics about her now and I can only imagine how they will develop. Our goal is to guide her, to encourage her and to instil a strong sense of self-respect and strength of character, to ensure that she will be able to navigate the sea of media and peer influence successfully. To understand cause and effect. To be strong yet compassionate. To respect inwardly and outwardly. To be brave, to be herself and to do good. That is what inspired me to create this print as a visual reminder of the most valuable things we can possess; our character, our values, our strengths and our complexities. A reminder of what we are, what we can be or aspire to be. A back to basics. A wish list. A bucket list. A list of the reasons you are loved. All of these is what this print can mean. What do you feel this print could mean for you? I would love to know.
0 Comments
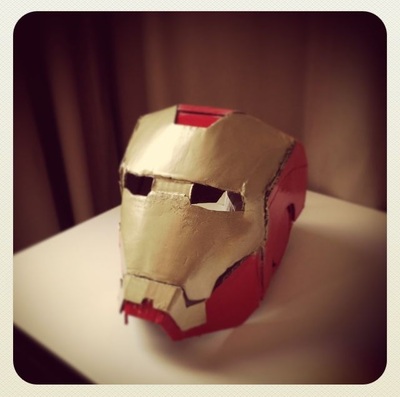
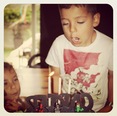 When we asked our son what sort of party he might want for his 5th birthday, he immediately responded with "A SUPER HERO PARTY"! He went on to explain that he knew he wanted a boy hero party this since we threw his sister a Super Girl Party last year...sweet right? What took longer, a great deal longer, was for him to decide that he wanted to be Iron Man at his party but once that was decided, the rest was fun party prep for me!
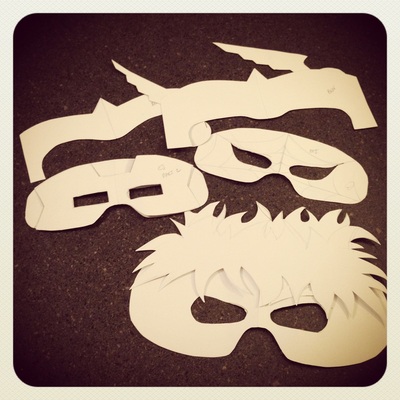
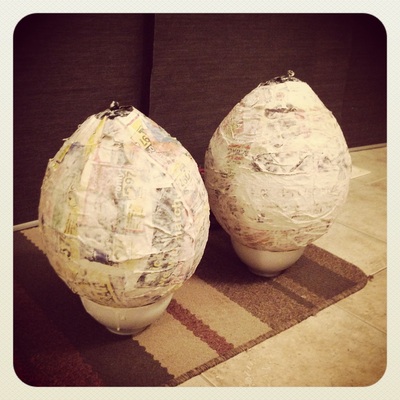
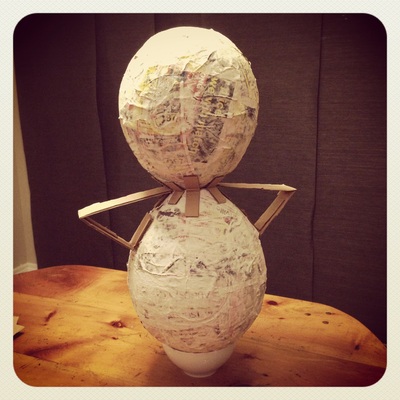
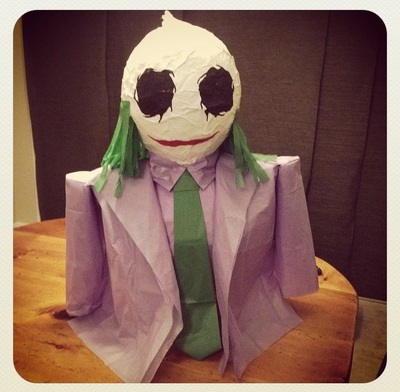
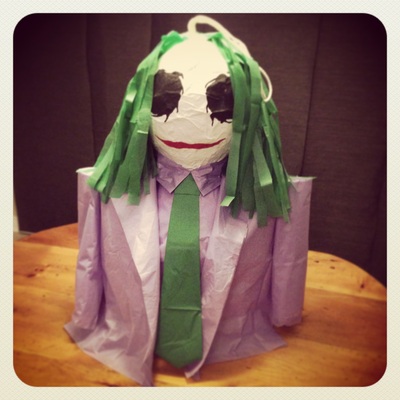
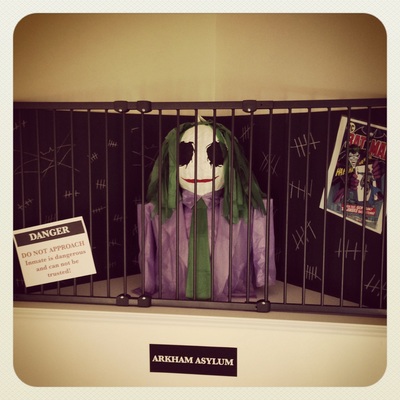
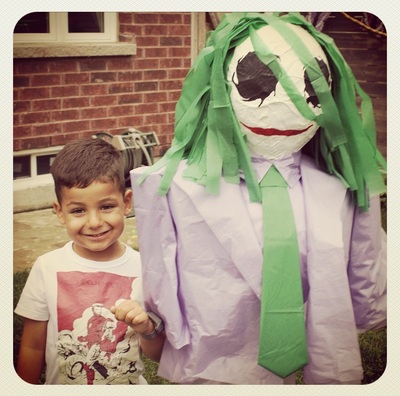
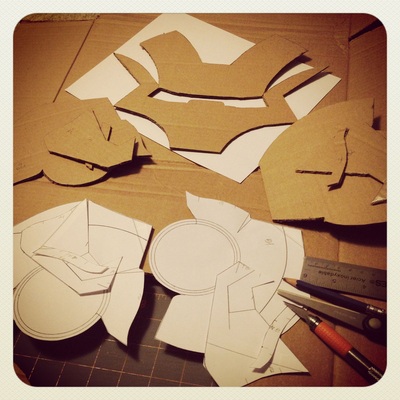
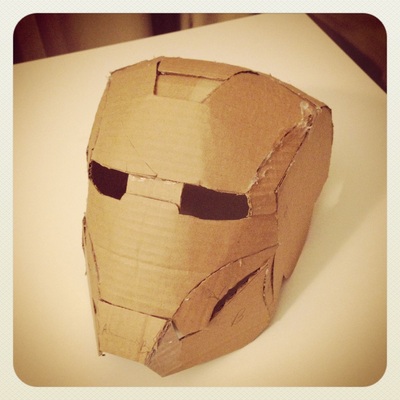
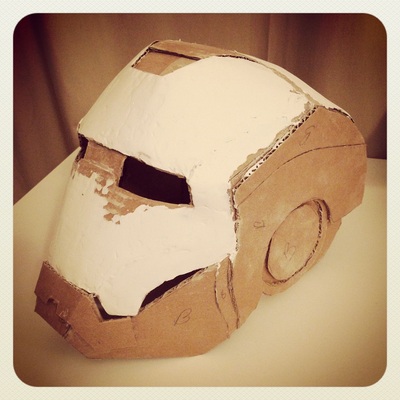
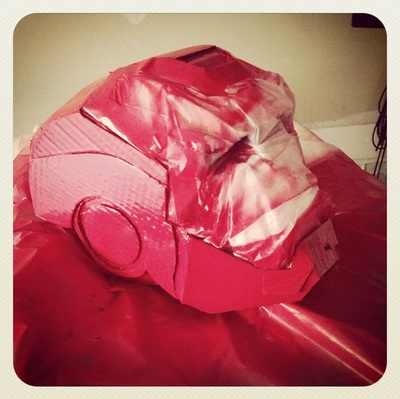
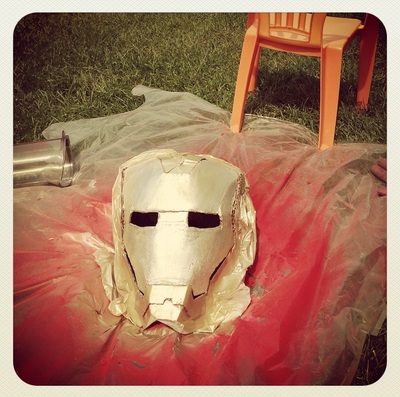
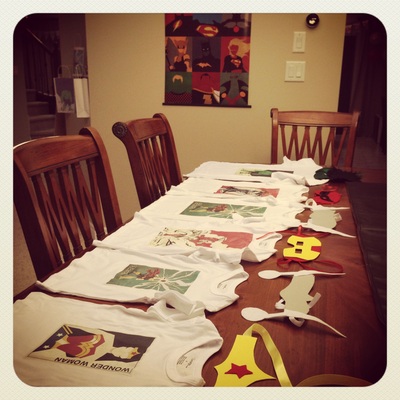
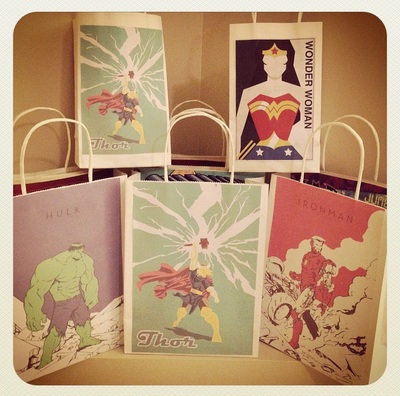
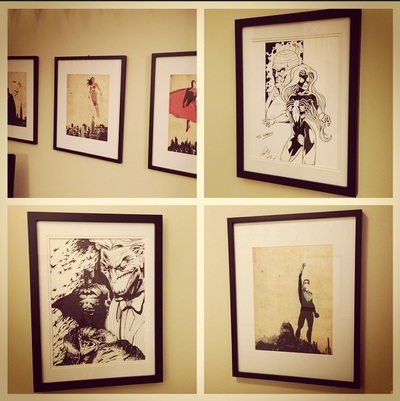
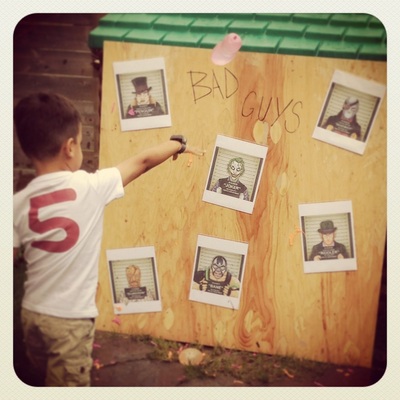
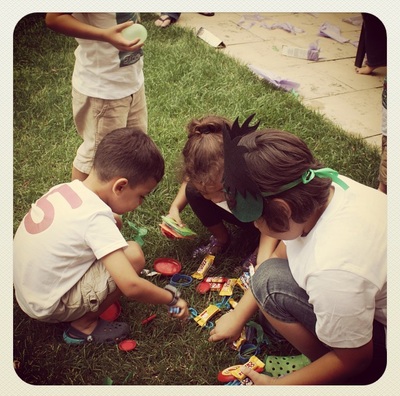
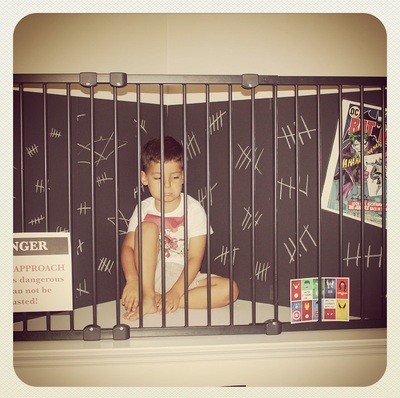
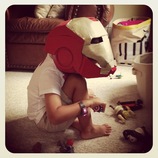
Once I had her mask right, it served as my template for all the others. I reduced it by about 20% for baby/toddlers and added 20% for the bigger kids. Traced them all onto felt or foam and voila...masks! Next was the piñata...I have a renewed love of paper mache and piñata making! I didn't want to make a "Good Guy" piñata (something about bashing up a good guy just doesn't feel right) so the joker was the easiest and creepiest way to go. Balloons, flour, water, old cardboard, old newspaper, hot glue gun, acrylic paint, rope and tissue paper. That, plus time and candy, is all you need to make this piñata and as you can see from the pictures below....it really is not that complicated. Iron Man mask...My favourite project was his iron man mask! Yes, I could have just purchase an Iron Man masks from Walmart for $10 but I really (really) just wanted to see if I could make this...I have issues, I know. Moving on. I used a tutorial I found here to make this mask. I simplified it quite a bit for our purposes but I did it! I have never been good with spray paint, so I found that the most difficult part, the rest just took patience. Now this was a lot more work than it's worth but I think the fact that most people didn't realize it was home made at first was a personal crafty achievement for me. More importantly, my son was so interested in the process of it being created, my test fitting it on him, watching me spray paint it a few times (I hate spray paint), he thought it was amazing that I was making this just for him. That is what made it worth while. The finishing touches...The rest was custom shirts, matching loot bags, and the finishing touches. I covered the house in my personal collection of comic book art and posters. I usually have these limited to our room and my studio, so it was fun seeing it everywhere. The piñata was of course lots of fun but it was the water ballon game that was the big hit. I printed a few pictures of bad guys I found here, put them in page protectors sealed with tape and hot glued them to an old piece of plywood we had. My husband spent a week filling water balloons in his spare time and I think he cried a little when he saw how quickly they went through the over 300 water balloons. It was well worth it though, our son is still talking about fun that was. Happy Birthday Little Guy
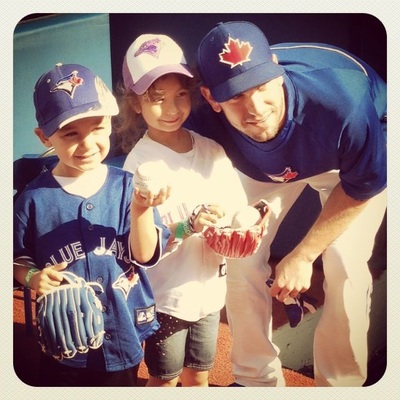
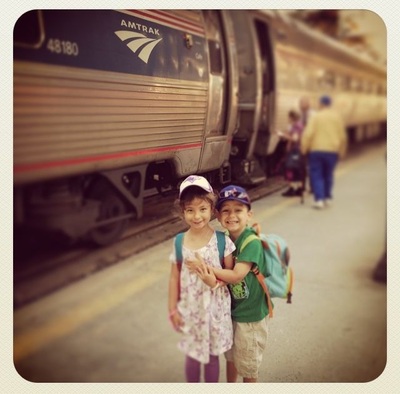
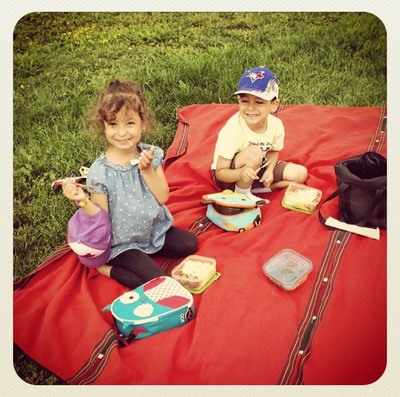
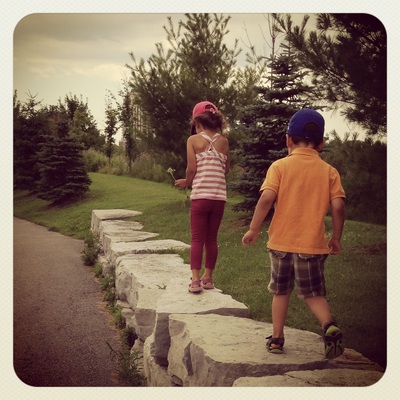
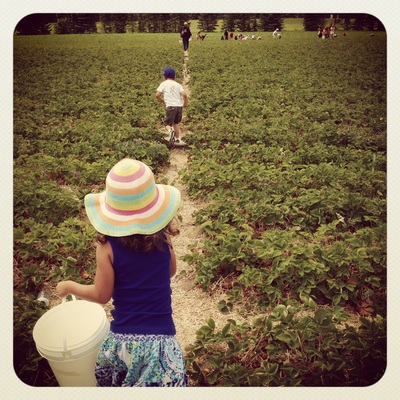
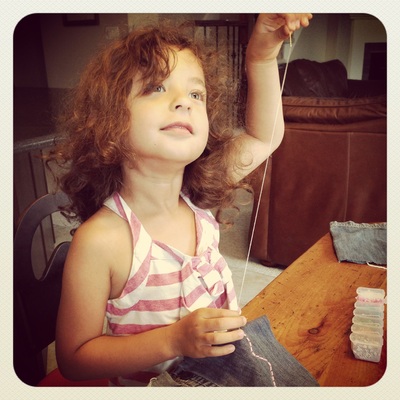
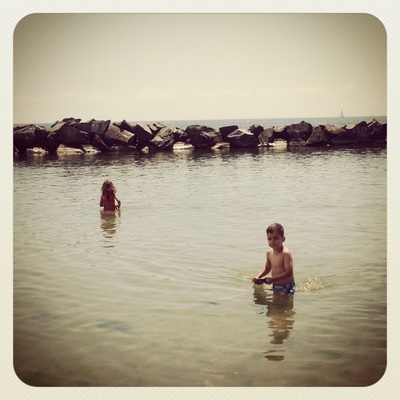
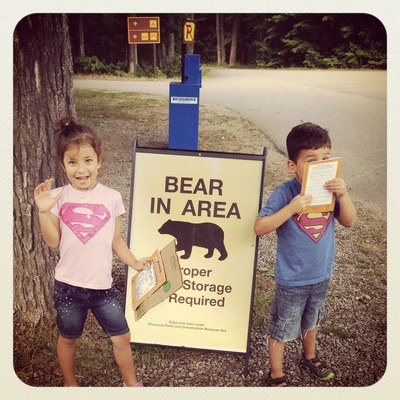
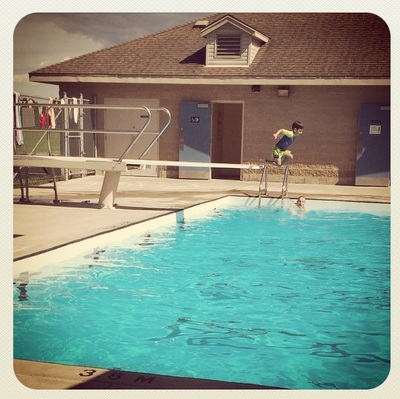
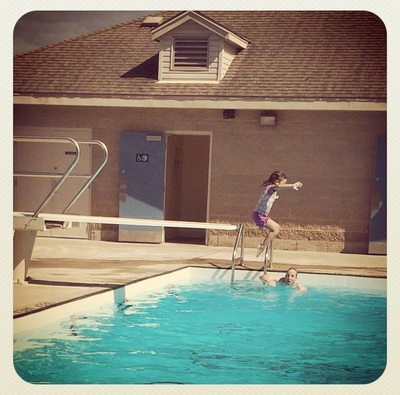
My oh my, where has the time gone!? It has been too long since I was here but I have had my hands full with my two little ones over the summer! This has been the first time since my last maternity leave that I was able to spend the summer with them and it was fantastic! We worked on summer journals, sewing projects, went strawberry picking, to baseball games, had picnics, took a train trip, went camping, hiking, swimming, etc, etc, etc....but alas...it has come to an end. The kids are officially back in school and the house is now so very quiet during the day which is very odd and a little sad. The upside is I have time again for the blog and to work on a list of new prints that I have been scribbling down in my notebook all summer...it's only been two days but I have been busy in the studio and happily creating! I hope you'll join me here again as I have missed being in this place and have missed you. Come back later this week as I will be posting about my son's Super Hero party that some of you might have seen glimpses of on my instagram account.
It was a grand way to close off the summer. What were your summer hightlights?
With the summer finally here and today being their official last day of school, I am looking forward to spending the summer with them. We have plans to do so many things and they are excited to be spending the summer with me for the first time in 4 years but truthfully, I am just excited that I have the opportunity to be here and to watch them bloom.
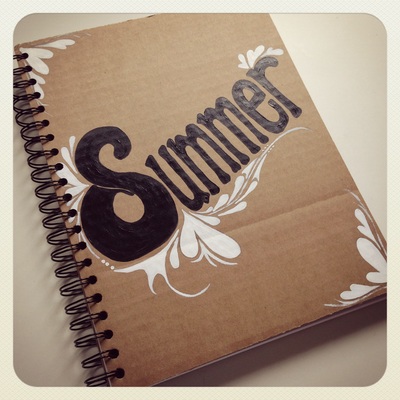
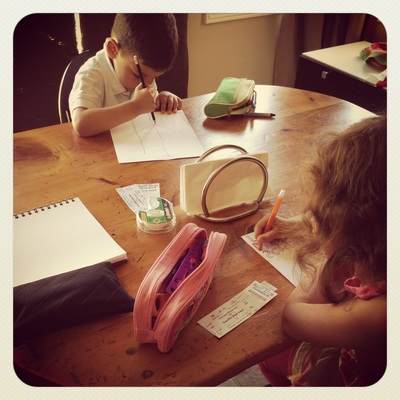
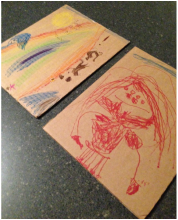
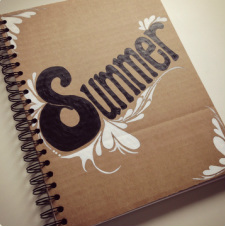
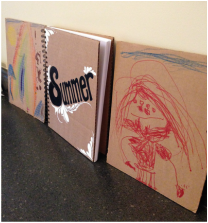
Share what you are loving in your life right now here and on social media using the hashtag #beautyintheblooming and be sure to check out Print Therapy on the 28th for the official "Beauty is in the Blooming" Blog Tour. This year for the first time in four years, I have the opportunity to spend the summer with my children (he is almost 5 and she just turned 6) and I am very excited about that. Frankly, there is a possibility that I may develop twitches or lose my mind by week 3 but regardless, it is a wonderful opportunity to 'plan' to have a fun summer with the kids. While planning out activities for the summer, I thought about making memory books and then the forum community over at Oh My! Handmade Goodness started a Summer Journal Challenge which I of course jump on board of. This week we worked on our covers. I used cardboard for the covers instead of buying a book to decorate and filled the inside with defected card stock that I have collected over the years. I have a binding tool at home and put it all together. The kids were NOT interested in using anything but crayons and markers but that is ok. I also won't be binding theirs until the end of the summer, as I think it is easier for them to work with loose pages at their age. As for me....I take any opportunity to doodle and paint, so that is what I did....doodled something fun then painted it with acrylic paint. I'll be creating some printable pages for their journals as the summer goes on which I will be sure to share with you all.
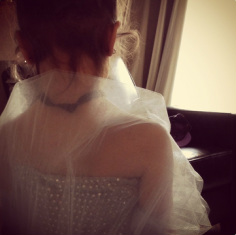
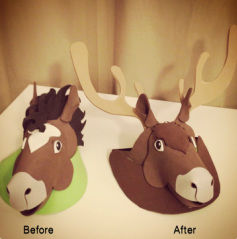
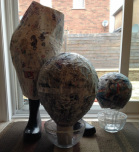
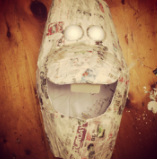
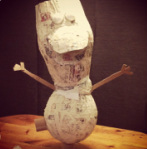
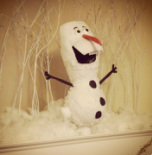
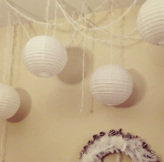
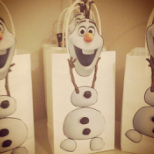
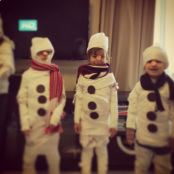
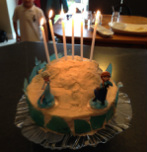
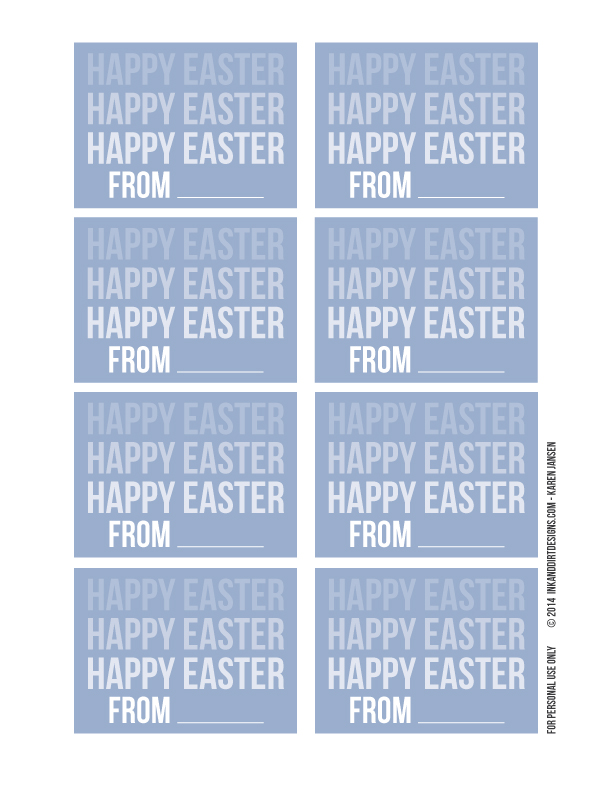
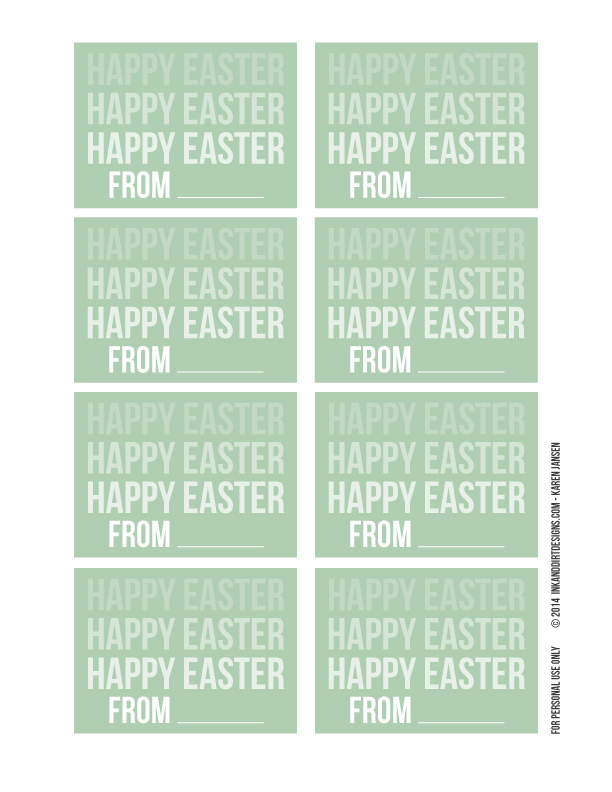
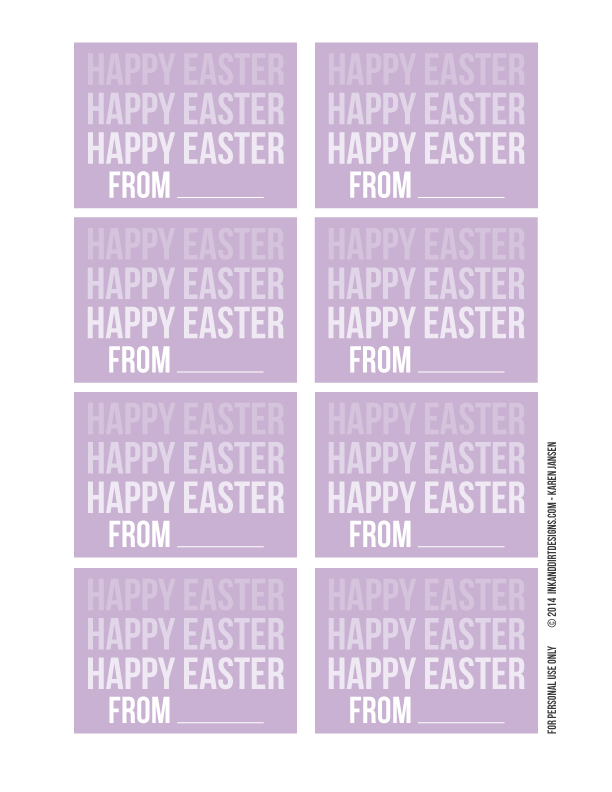
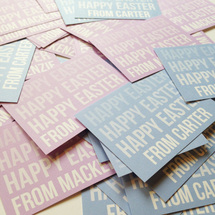
This is the first time I'll be doing one of these so I am just winging it but if any of you are veteran journal makers, please tell me below, what are your best tips and tricks for journal making? 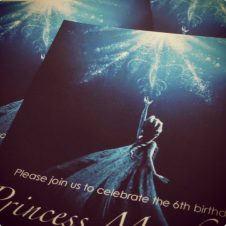 A few weeks ago my little girl turned 6 and of course like most little girls she is enamoured with the movie Frozen. The music, the visuals, the characters, especially Elsa. So it wasn't a surprise that she requested a Frozen themed birthday party. I have to admit that I was a little hesitant with the theme because it had been such a cold and ridiculously long winter and the last thing I wanted to do was bring winter back. However, it all got better once I stopped pouting about it and realized how little this party would cost since most of our Christmas decorations are the perfect colours. Yay! The Dress For her it was all about the dress, an Elsa dress. Fortunately, I found the perfect fabric and tulle in the discount rack. My skills with the sewing machine are average (maybe less) but I made it up as I went and I think it turned out alright. I also found a white wig at my local party store for a $15 that I simply couldn't pass up. Between the dress and the wig, she was over the moon. Sven Hats I try to make something for all the kids to wear during the party but I was at a loss as to what to make this time. Then I found these horse hats at the local Dollar Store and I immediatley knew that I could convert them into Sven hats. I purchased some extra foam paper, drew some antlers, cut them out, sandwiched some wire I had between them, removed a few things, added a few things...and voila, Sven hats! Note: I think I will do a tutorial for this sometime soon. Olaf Piñata and the rest This by far was the most enjoyable project of the party. Using balloons, old newspapers and paper mache (flour/water), I was able to construct an Olaf piñata. It took about a week due to the drying time required but it was well worth it. The kids could not get enough of him, they talked to him, took care of him and then inevitably broke him open for the loot. 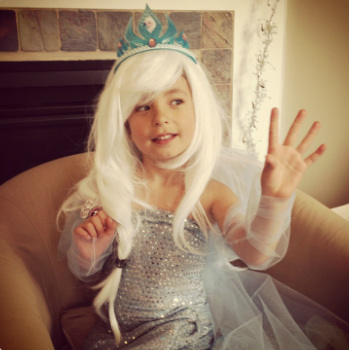 The house was decorated with white and silver. Loot bags were made by using white bags and Olaf cut outs. We had the grown ups pair up with the their kids/grandkids for a 'build your own snowman' competition giving them a roll of toilet paper, tape, buttons and a scarf. This was HILARIOUS to watch and the kids had so much fun doing it. The cake was a home made ice cream cake, trimmed with home made blue candy and topped with Elsa and Anna. Those are the highlights, not perfect, not crazy over the top....just enough to make my little girl smile, sing and enjoy a magical birthday. Happy Birthday (not so) little one! 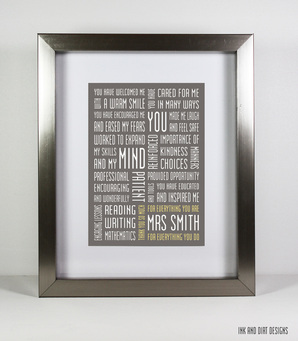 It is the almost the middle of May and that means that the end of the school year is just around the corner. How did that fly by so quickly? Parents are booking summer school, summer activities, summer camps and soon enough the last day of school will be here and the kids will be saying good bye to their teachers for the last time until September rolls around again. I enjoy seeing children buying soaps, suds, mugs and chocolates for their teachers. I think the effort and the gesture speaks volumes....my teacher is appreciated and is worth a little extra. I also know from personal experience, in a general sense as I am not a teacher, that there is no better feeling than having someone tell you why you are appreciated and why you are worth that little extra effort. It is these two observations that served as my inspiration for this customizable Teacher Appreciation print. The print contains the reasons why teachers are special to us, the impact they have made on us and lets them know we are appreciative and thankful for everything they do. I gifted these prints, customized with their names, to the educators in our old preschool and to my daughters JK teacher last year and the reaction was exactly what I had hoped for...they were impactful and certainly well received. A simple print, a simple frame and a simple message; We appreciate our teachers and we thank our teachers... for everything they are and for everything they do. 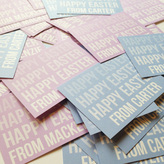 This is one of the few times in the year that the kids give their classmates little gifts. With these gifts we like to include little cards but we also limit our spending, so we will usually make up our own cards. These are the ones that we made for the our kids this year... small, simple and in rose and blue. Doing these got me thinking and I decided to make a modified version of these for any of you to use for your kids...especially if you are like me and doing these last minute :) So if you are in need of quick Easter postcard style cards, help yourselves to these. Simply print on thick or cardstock paper, cut and have your kids sign their names on them. Each card is 3" x 2.25" and there are three colours available. Please help yourselves and please let me know how you used them :) Friendly Reminder: Designs are by Karen Jansen/inkanddirtdesigns.com.
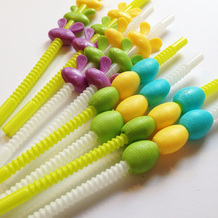
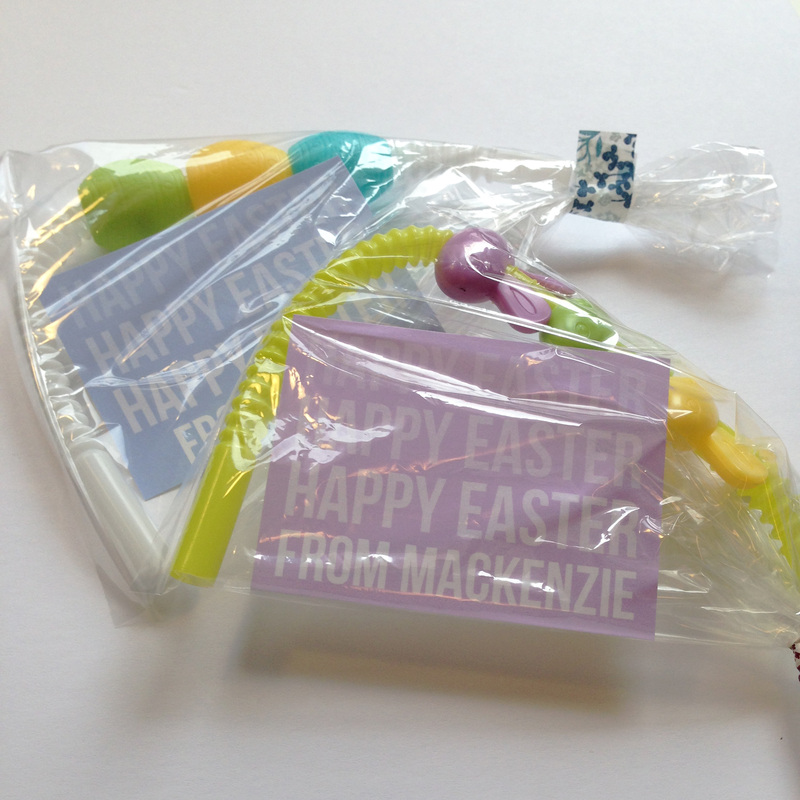
Images/files are for personal use only and are not to be altered, sold or used commercially Our children, age 4 and 5, truly enjoy giving and receiving little gifts from their classmates. As fun as it is, we make it a point to spend as little as possible and to give non candy gifts (except for Halloween...that just seems cruel otherwise). Last year we gave their classmates chalk eggs (link here) and below are this years gifts. Materials Used
That is it....simple, affordable, candy free and fun for the kiddies.
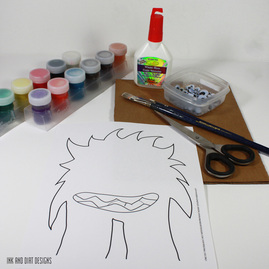
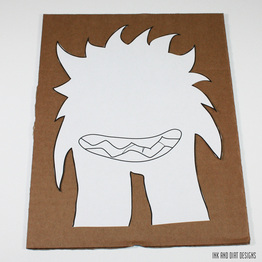
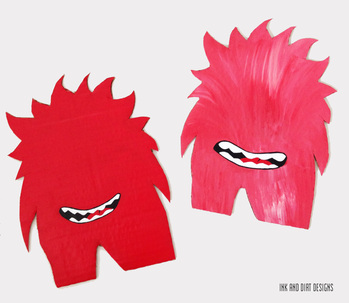
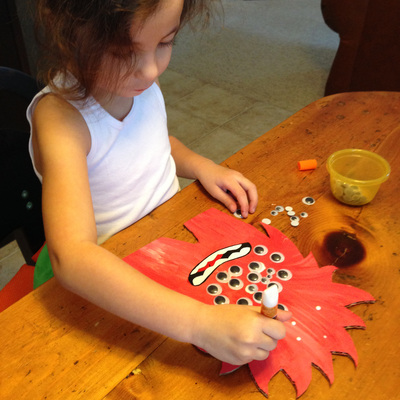
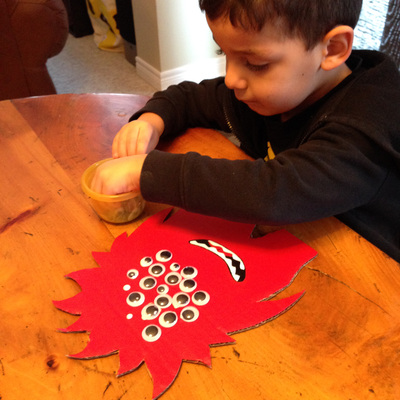
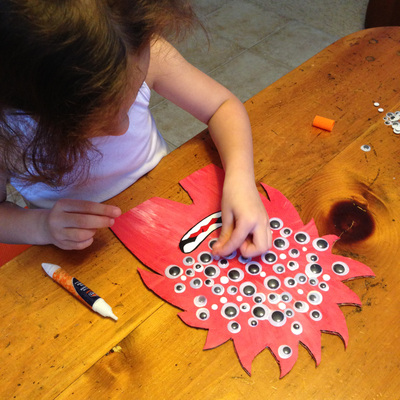
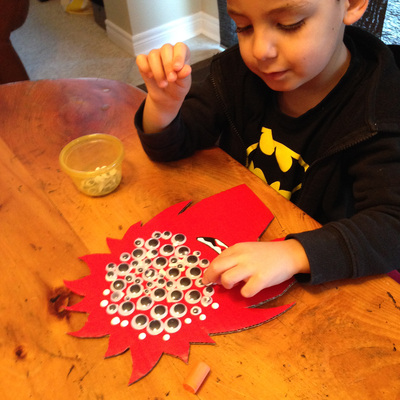
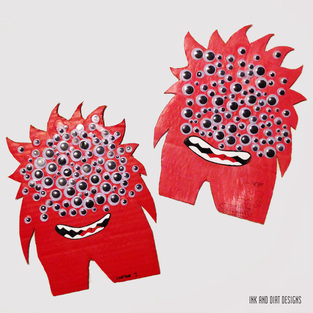
Our children, age 4 and 5, just celebrated their 100 days of school and as part of the school celebration of the milestone, they were welcomed to make something that contained 100 items. Recently, my daughter has been fascinated with googly eyes and my son with Monsters...so I surprised them with this activity. Materials Required
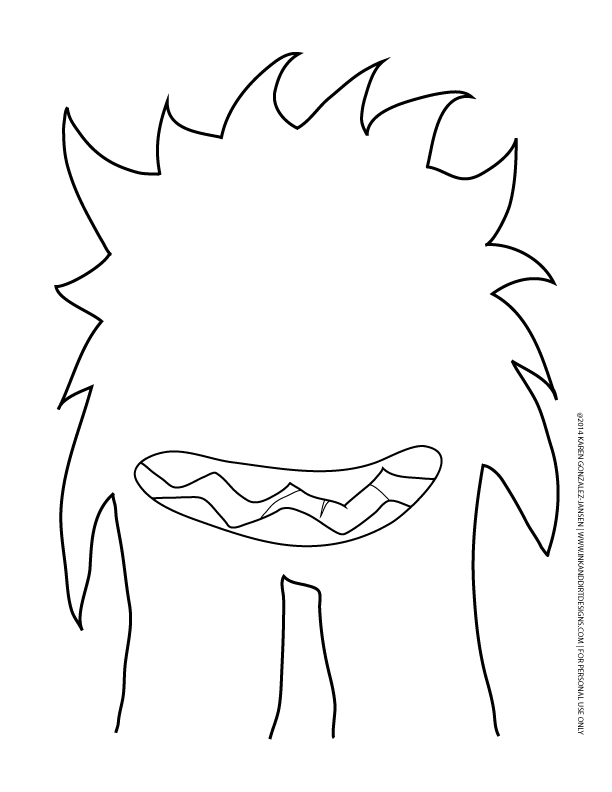
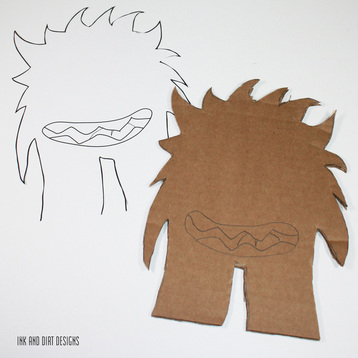
Draw your monster on your letter sized piece of cardboard. If you aren't confident in your Monster drawing ability, feel free to use my Monster Template. NOTE: Cardboard makes a great base for this. It is rigid and lets the kids actually play with these monsters afterwards .
|
WELCOME!This is the place where I share my creative projects, endeavors and the stories that inspire my prints. LET'S CONNECT!YOU CAN ALSO FIND US ONFEATURED HERECATEGORIES
All
THE SMALL PRINTAll images, designs and content, unless noted otherwise, are ©Karen Gonzalez-Jansen. |
INK AND DIRT DESIGNS
EMAIL: HELLO@INKANDDIRTDESIGNS.COM
EMAIL: HELLO@INKANDDIRTDESIGNS.COM
© 2020 Karen Gonzalez-Jansen - Ink and Dirt Designs

