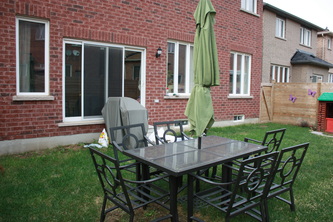
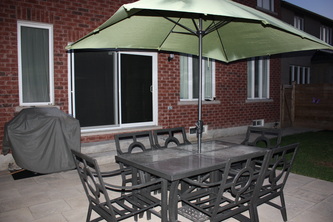
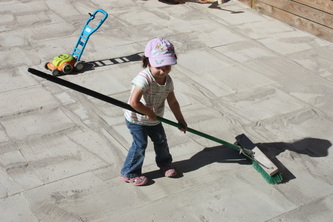
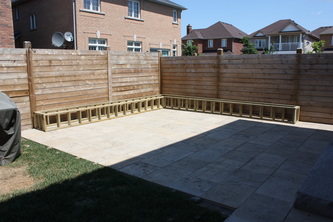
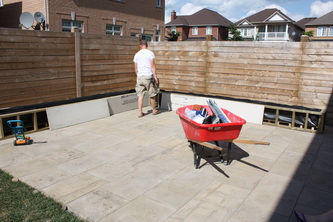
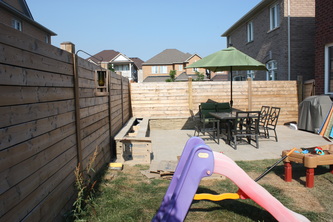
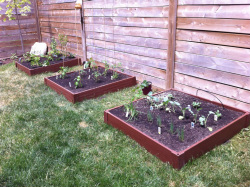
 Our vegetable gardens...finally! Our vegetable gardens...finally! Last year we tackled the enormous task our landscaping our own backyard. Part one was the exhausting digging, part two was putting down all the stone (and an injury) and part three was the garden wall. Before and after pics and summary can also be seen here. After all that work we decided to NOT do the vegetable garden we had in the plans...we were so tired! So we tackled it this year. We downsized the initial size/scale to keep more grass/play area for the kids and we also decided to use a Raised Bed Garden Kit to save ourselves from anymore digging. Found them on super sale which was a bonus! We purchased three kits, put them together, filled them and planted them with the kids help, all within an hours time. Bed 1: strawberries, raspberries and blueberries. Bed 2: tomatoes and peppers. Bed 3: cucumber, broccoli, onions and leeks. We got carried away and even planted two grape vines. Our kids are really enjoying watching them grow and are beginning to understand that veggies don't just appear in the grocery stores or farmers market. 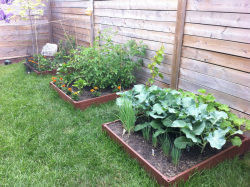 Our vegetable gardens at 4 weeks Our vegetable gardens at 4 weeks We've only had one problem and that has been with strawberry theft. We quickly realized it was our very own dog who was eating all the "baby strawberries" and so now that bed is protected with netting. The dog still heads straight to that bed in hopes of finding a way in but so far the net is holding up. Everything is doing really well, tomatoes are covered in flowers, cucumbers are budding and the leeks/onions smell so good (I am not a fan of onions). A year late in completion but now it is done and thriving. Well worth the wait I'd say.
0 Comments
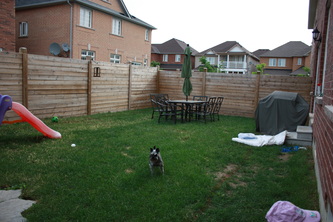
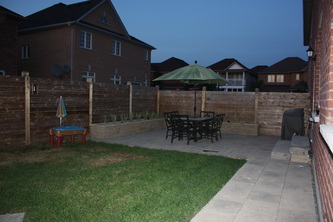
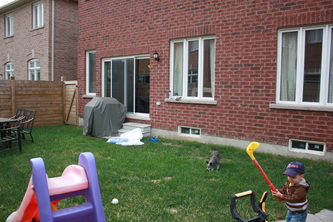
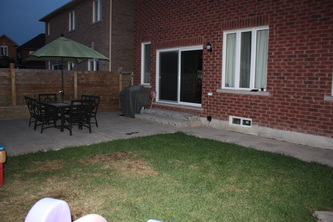
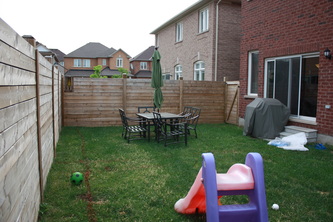
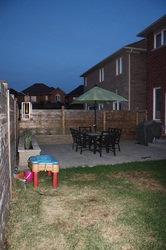
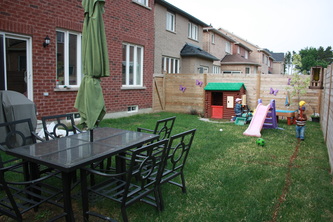
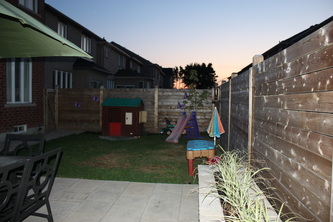
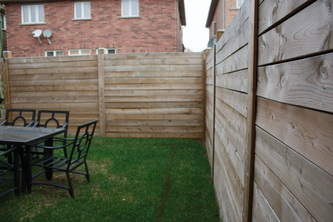
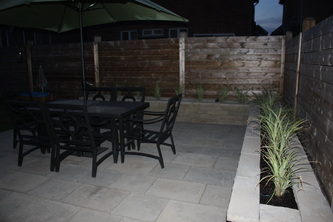
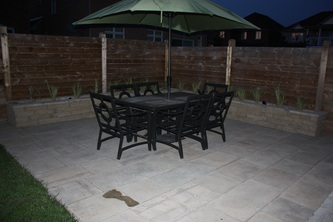
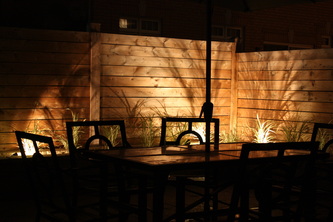
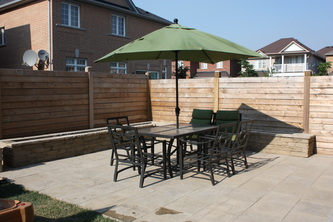
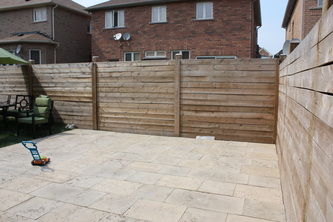
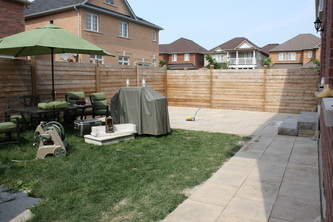
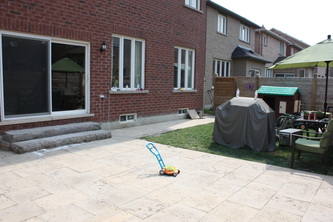
Our backyard landscape project is FINISHED! Final project includes a new stone patio, a garden wall, an informal path between the houses, an in-ground sprinkler system and lighting. There is a defined place for everything now and here are the highlights followed by the before and after pictures.
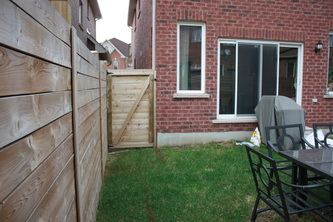
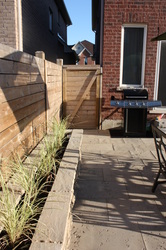
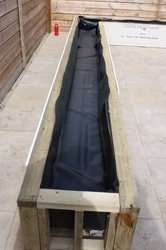
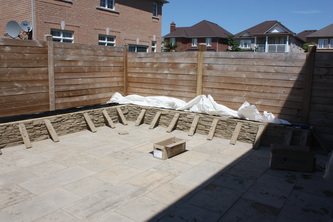
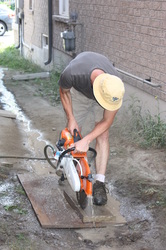
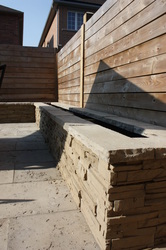
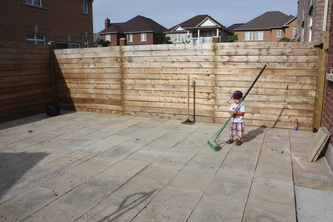
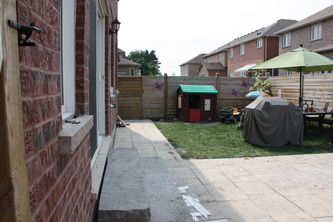
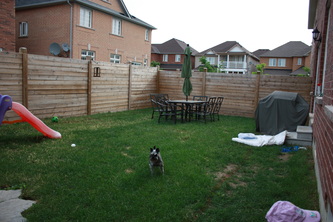
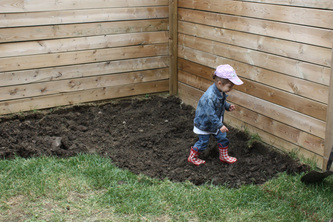
Patio: The patio is great for eating, dancing and even for the kids using their tricycles or other ride-on toys. The stone we used is actually all man made. We wanted a more environmentally friendly choice and although it is very different working with this versus natural stone, we are happy with the end result. Garden Wall: The wall is built to standard chair height. Therefore, it not only looks good but serves as additional seating too. As for the plants, it is filled with only varigated ornamental grass. I wanted to keep the look very clean, simple and by using only ornamental grass, it is an unappealing hangout for bees and wasps (which is great if your eating out there). In-Ground Sprinklers: Our favorite reasons for having a sprinkler system...your property gets watered whether you are home or not, at 6AM while your still sleeping and more efficiently than by hand with a hose or an old school sprinkler head. Our set-up includes 3 zones: Zone 1 is grass, Zone 2 is the garden wall and Zone 3 is the kids area. We love automation. Lighting: We have used solar lighting in our previous projects but this time we went with electric. I wanted something more consistent, on when you want it and as long as you want it. Our set-up is also automated to turn on at dusk for a few hours. Kids Area: Because our kids are still very young (2 & 3) we’ve left the one side just for them. We planted a tiny simple garden on the side that you would see when walking in through the side gate. The other side has a little patio, some ground cover and dirt. They love to dig for worms, bug and just for fun, so we’ve left it pretty much unfinished for them to have fun in. We'll update the area as they grow. We top seeded the grass after these pictures were taken and it has started to fill in quite nicely already, by the fall the grass should look good again. Vegetable Garden (Future): In the end we left the long strip along the back untouched. It is full sun for most of the day and so it will be turned into a vegetable garden in the future. We decided to postpone this part so that kids could still have lots of room for their slide, inflatable pool and what ever else they want to do out there. Perhaps next year. Final Thoughts: We saved a bundled doing the installation ourselves. My husband and I both have the landscape background to do this confidently, the family to help us when we needed it and the incentive to get it done on time (ready to celebrate our son's birthday in two weeks). We are over the moon with what we've accomplished and we happy to be DONE! Now it's time to get ready for the birthday party and enjoy our beautiful back yard! Thank-you for following this project and your kind words! This weekend we tackled the garden wall but before we could that, we had a few items to complete. We had to do some minor cuts to complete the pathway, swept in the polymeric sand, sealed the stone and built the frames for the garden wall. Doesn't seem like a lot but with two little ones, everything takes longer to complete. This weekend we had everything ready and got to work. My husband and I put together the frame complete with liner and concrete board. That took the entire afternoon on Saturday, however it was so much fun, the kids played outside with us while we worked and we even had a play date over! On Sunday, we had the family over again and made a day of it. With their help we put up all the veneer and cut the caps. (I love our family!) We were on our own again on the Monday (a holiday for us in Canada) and together we finished the final cuts, secured the caps and the structural supports.
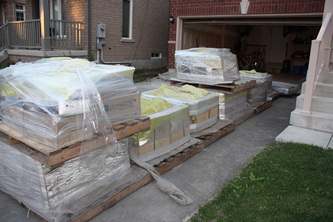
Next week: We will plant the wall garden, add the lighting, setup the inground sprinkler system and start work on the path between the houses. Our goal is to have everything ready for our son's birthday party at the end of August...we're almost there! As you may know from my last landscape post, we are landscaping our backyard. Last post we removed 14 cubic yards of earth and replaced it with screenings. This weekend we tackled Phase I of the stone work. Phase I includes: the stone patio, stone walkway and stone slab stairs. This all translates into 8 skids of stone which were delivered on Thursday afternoon.
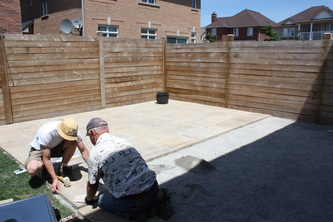
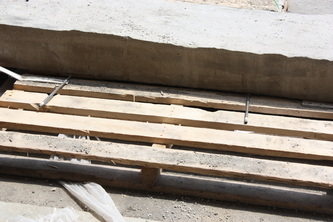
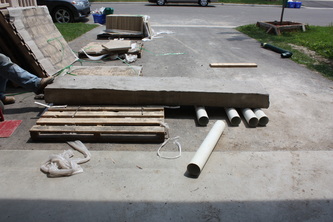
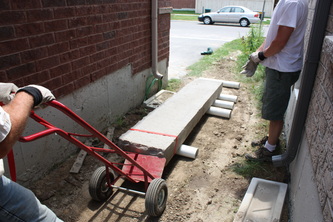
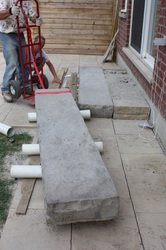
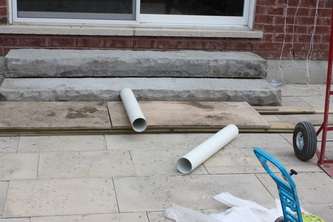
Day 1: Early Friday morning My husband and I, as well as both our Fathers, started unloading skids and started to lay stone. We have 3 sizes of stone, 18x18, 18x24, 18x36 plus two 8' stone slab steps weighing in at 800lbs each. We worked hard all day and by the end of day 1 we laid 100% of the patio and 50% of the walkway....a really good days work! Day 2: Early Saturday morning we started again but one man short. We quickly finished the path and by noon had everything ready to move the steps. After lunch, between the three of us, we moved two 800lbs steps from our driveway, around to our backyard and placed them perfectly at our backdoor! We used 6 pieces of 4" PVC pipes each cut to 20" lengths and like the Egyptians, rolled the stone slab. It was slow and steady work but it's much easier than you think it would be. We are very proud of ourselves for moving and placing those two steps.... we had our doubts (serious doubts) that we could do it due to the rough terrain we had to cross between the two houses but WE DID IT! So by end of day two (which ended at 3pm) we had surpassed our estimated timelines and finished phase I. Warnings/Injuries: Both my husband and I have worked in landscaping while putting ourselves through school, so we have experience in this department. A lot of planning and calculations went into this...basically what I am saying is don't try this yourself unless you are absolutely sure you know what your doing. Even with our due diligence we did have one injury. Remember the 800lbs steps I mentioned? When we were moving the second step, the roller at the end of the step where my husband was pushing was removed before he was ready and the end of the step slipped unexpectedly into the ground with his hand underneath it!!! Ugh! We quickly freed his hand but two of his fingers were injuried. Nothing broken (thank God) but without going into details...it was (still is) seriously gross looking. Ugh! So again, if you're not sure what your doing, hire professionals. Coming Soon: Phase II - Raised Garden/Stone Wall Throughout my High School and Post Secondary education, I held a part-time job (sometimes full time) at a Garden Centre. It was a great job, with great people and great surroundings. That is where my interest in "Dirt" began. A few years ago, I enrolled in College on a part-time basis and completed my Certificate in Landscape Design. Now the time has come to get down and dirty again in the our backyard.
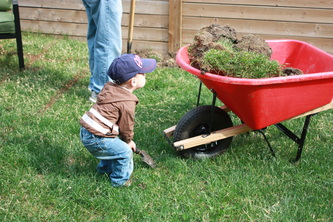
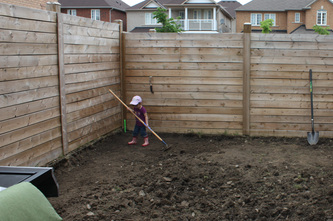
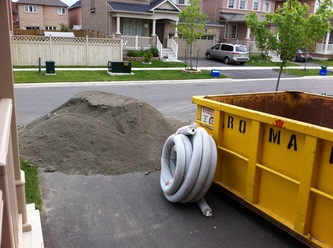
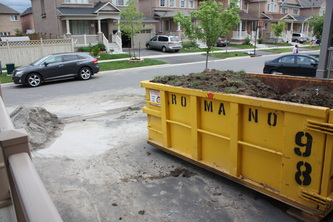
We officially broke ground on the weekend; we removed 14 cubic yards of dirt and replaced it with screenings, laying the foundation for the stone patio, raised beds and walkway. The complete plan incorporates an entertaining/eating area, play area for the kids, vegetable garden, in ground sprinklers, lighting and of course some plants. My husband and I love to do things ourselves and it seems to have spread to our family (or did it spread to us?) because we were lucky enough to have a few of them volunteer to help. So after two days, we completed all the digging, back filling, celebrated my husbands birthday and had a great family weekend. Coming Soon: Stone Work |
WELCOME!This is the place where I share my creative projects, endeavors and the stories that inspire my prints. LET'S CONNECT!YOU CAN ALSO FIND US ONFEATURED HERECATEGORIES
All
THE SMALL PRINTAll images, designs and content, unless noted otherwise, are ©Karen Gonzalez-Jansen. |

