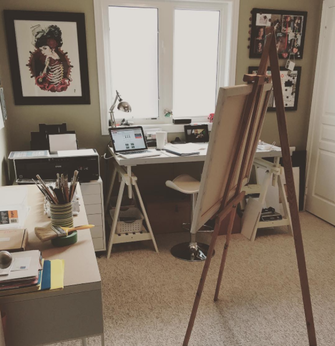
 It's been awhile since I've had an entire day in the studio. So much to do and I am so excited to be doing it in my favorite place. Happy Friday everyone!!
0 Comments
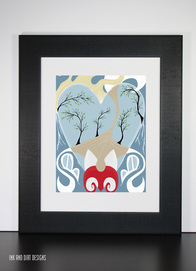
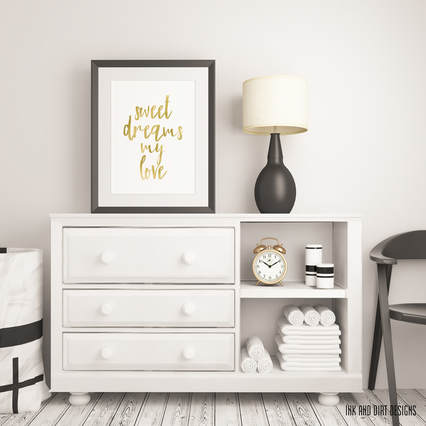 "Sweet Dreams My Love"...said in a whisper as we put our sweet ones to bed. Whether your sweet one is a few weeks old, a few months old or a few years old...this print will help them to keep dreaming sweetly even when you are not there. Available in the shop. Can be customized with your pet name for them in stead of 'my love'. What is the pet name for your sweet one?
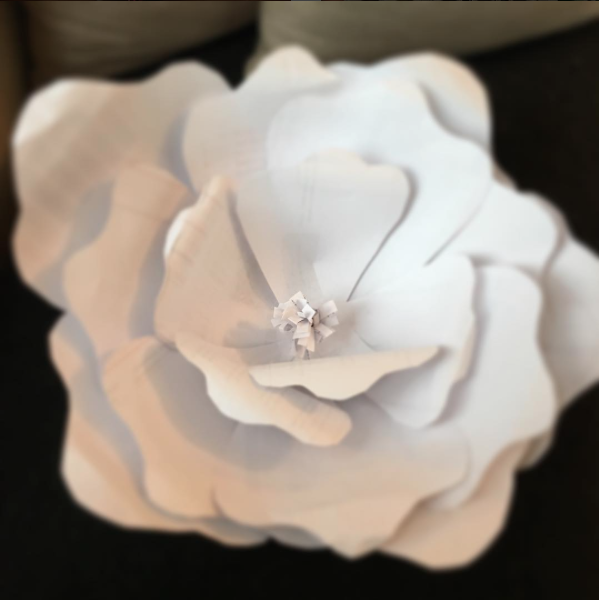
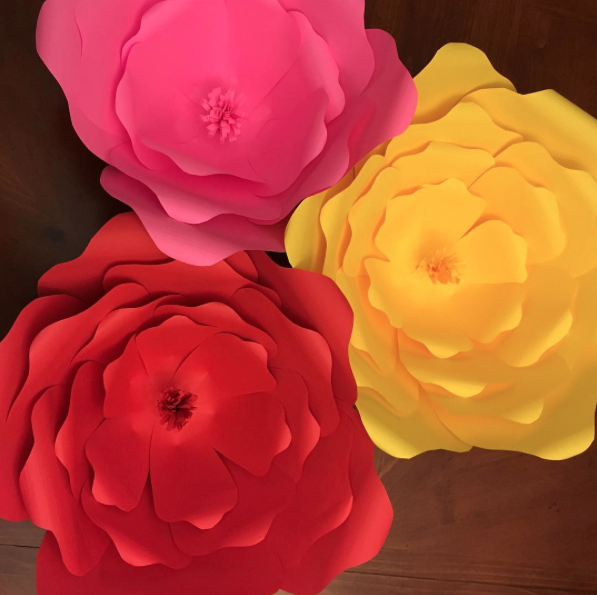
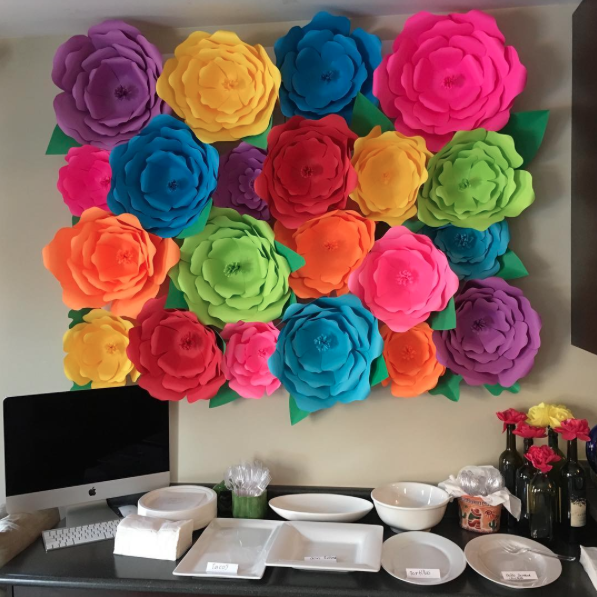
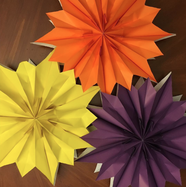
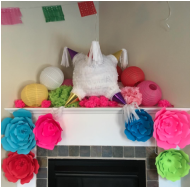
I have always wanted to try making giant paper flower and this was the perfect reason to finally to do them. I started with a practise attempt using scrap printer paper and when that worked out well, I bought a pack of coloured paper from Walmart to make the final ones.
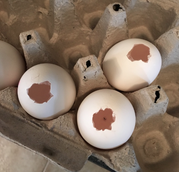
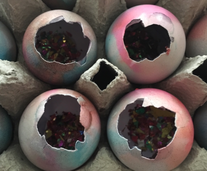
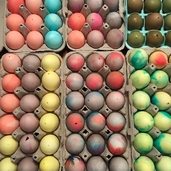
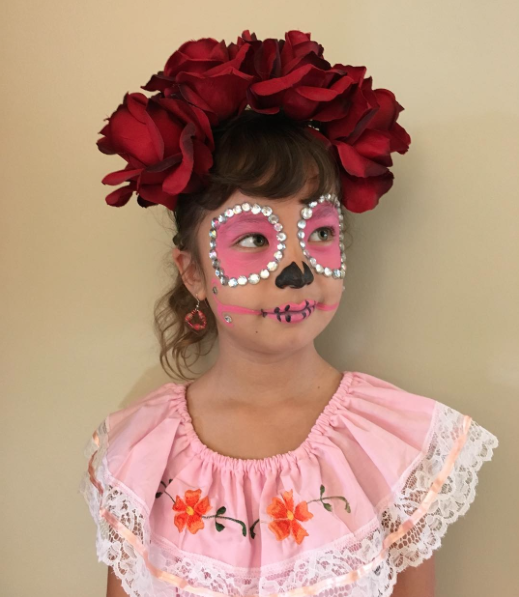
Another fun thing I have always wanted to try is making Cascarones. If you are not familiar with these, Cascarones are confetti filled eggshell that you essentially smash open on each others heads. We started collecting empty eggshells in April, then dyed them, stuff them with confetti and it was a big hit with the kids. Note: Brown eggs do not dye and they do not break like white eggs do! It was like those birthday candles that don't blow out...brown eggs had to get smashed HARD to break...my husband and I volunteered to be the target for those ones.
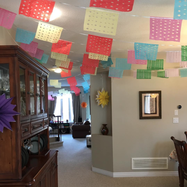
We also made stars out of coloured paper bags (I saw this tutorial on Facebook). I never knew you could do this and it was so incredibly simple! Of course we had traditional banners through out the house, floral head bands for all the girls and a classic piñata!
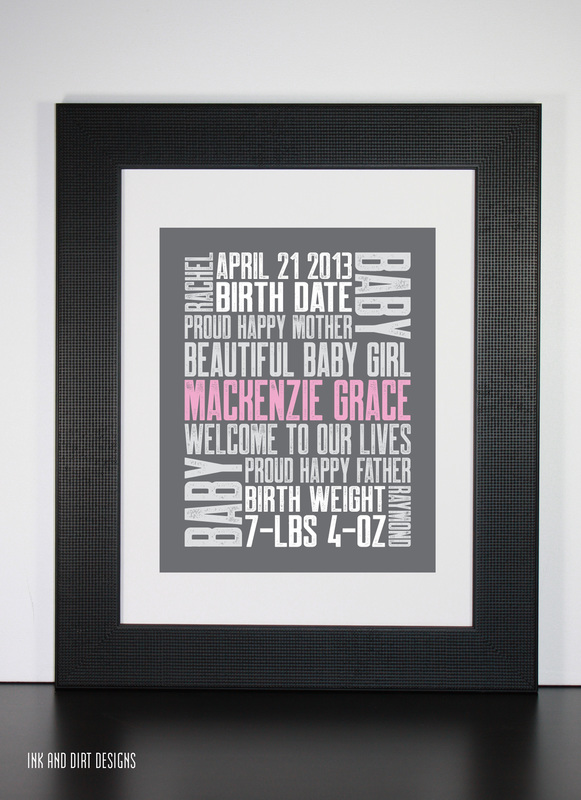
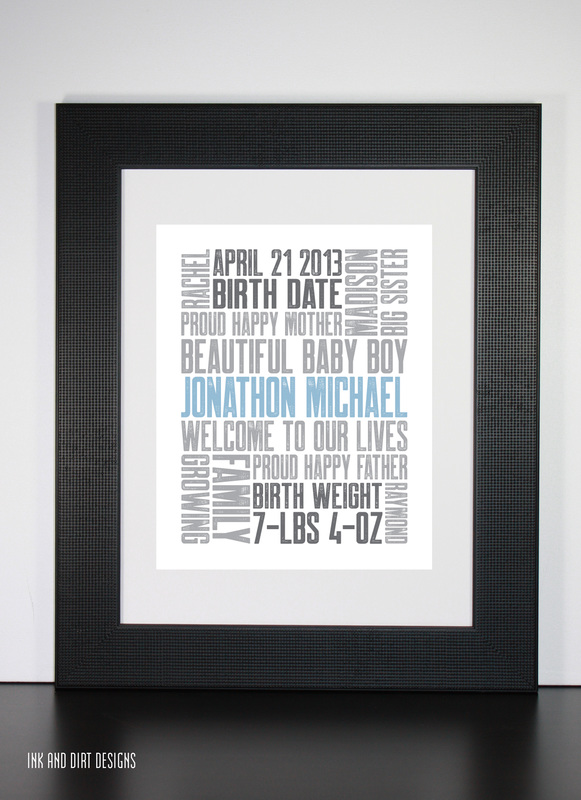
Our original birth prints come in an 8x8 square size which have a really great and unique look to them. However, we have been receiving more and more requests to have them available in 8x10 because depending on where you are in the world, square frames aren't as common. You asked, we listened and now our birth prints have a new size! Since we were introducing a new size, we took the opportunity to introduce a new look for them as well. Our new birth prints now have a fresh letterpress style to them, new tones, background colour and as always are completely customizable from the words right down to the colours. What makes these prints so personal is that they are based on the birth place of the new baby.
The original square prints have always been one of our favourite prints, in fact it was one of the first prints we created. We are very excited to bring a fresh new look to them and a new size that can be easily framed with almost any off the shelf frame that is matted for an 8x10 picture.
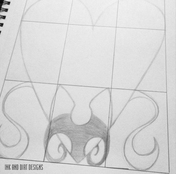
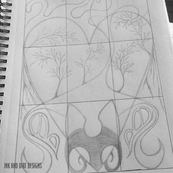
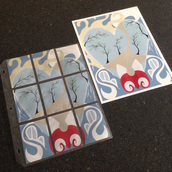
We are very proud to introduce these, they are available in the shop now and if you have any questions about them, please let us know...we love making them and would love to make one for you! Most of my inspiration for my prints come from everyday life, experiences or observations, however, this weeks inspiration was based on just plain old fantasy. I am currently working on a series of artist trading cards and the goal of this set was that each card would have its own image but together the whole set would make a larger image. I shared my progress pictures on my instragram feed and have decided to compile them here. I started with the grid and the desire to create an image that is part wonderland and part dream sequence.
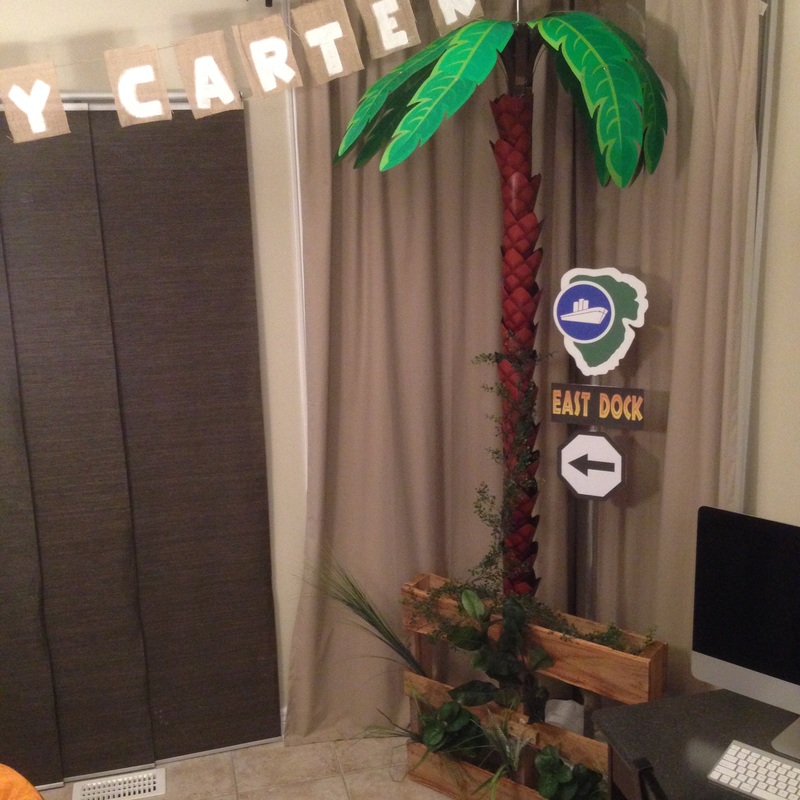
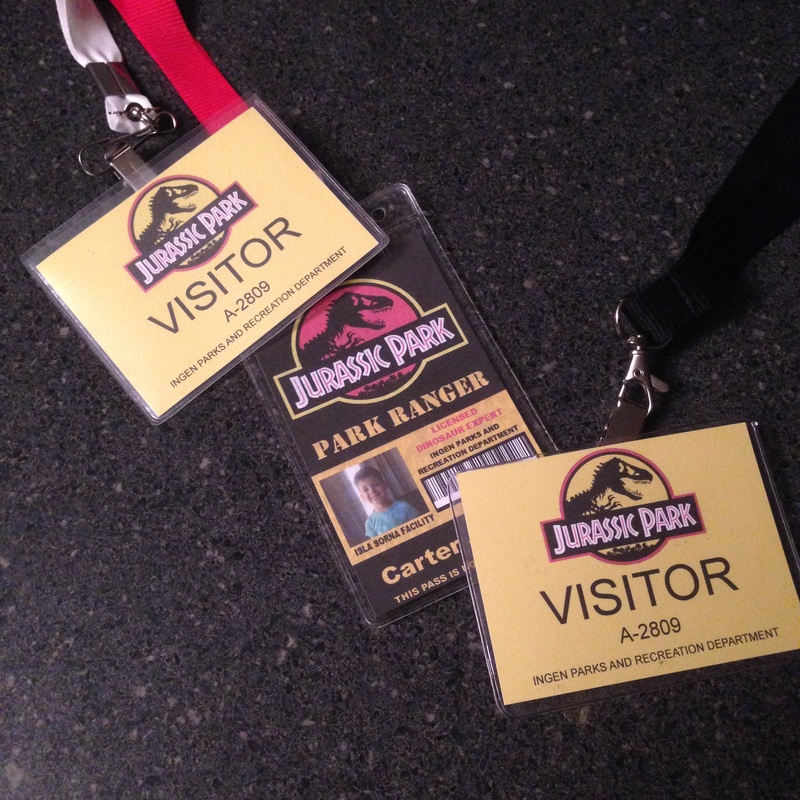
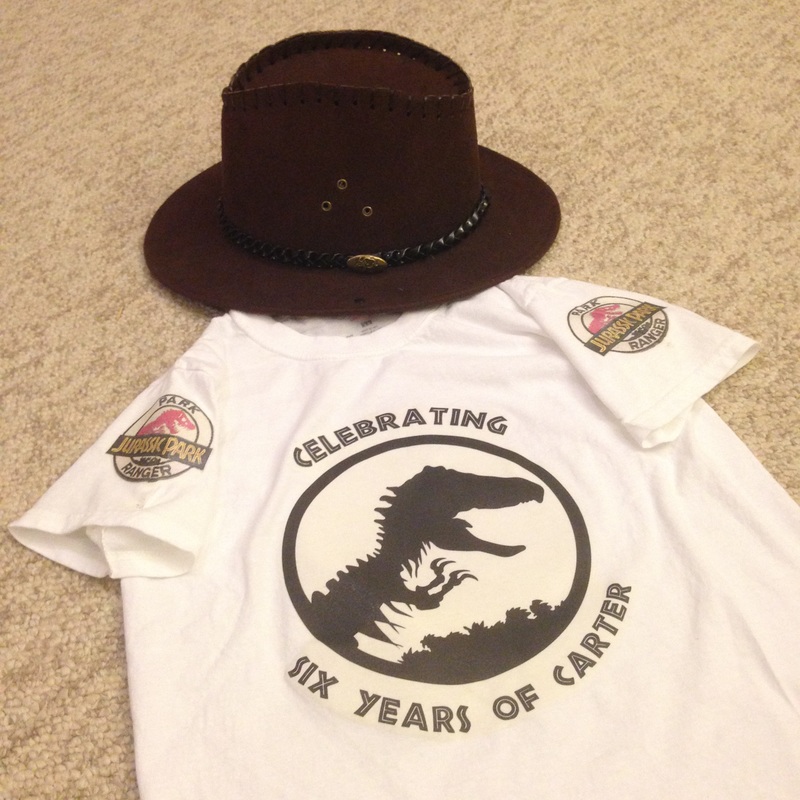
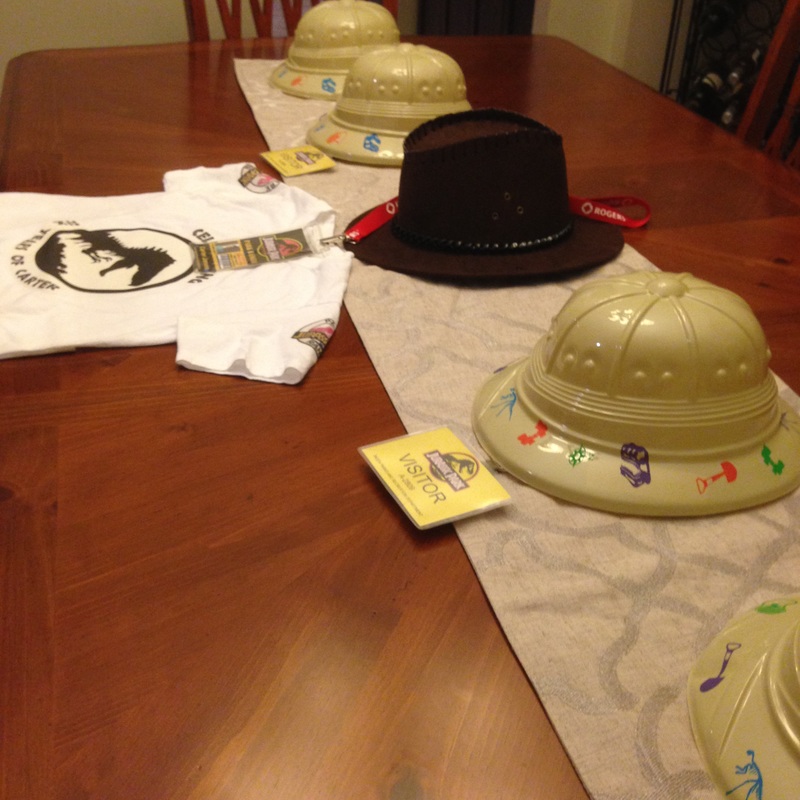
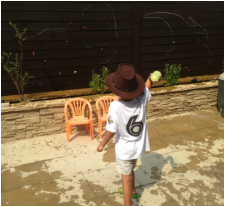
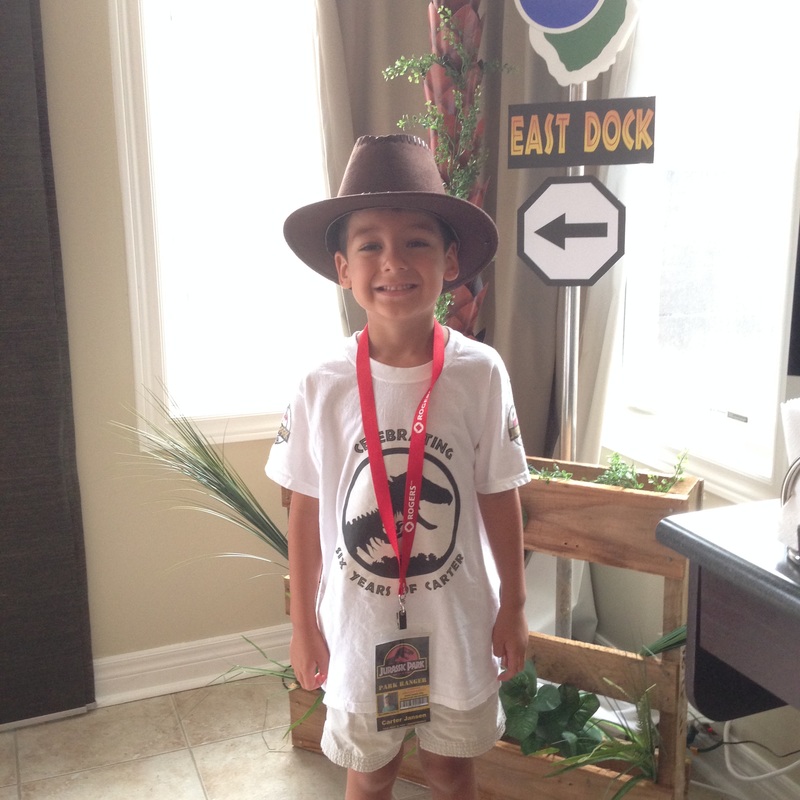
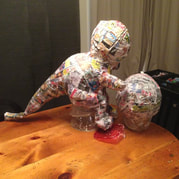
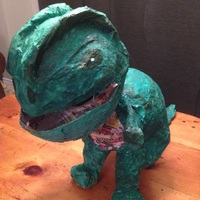
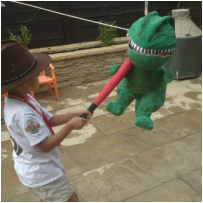
We recently celebrated my son's birthday and did so with a Jurassic Park inspired party. My previous post shares how I created his dinosaur piñata and now I will share the highlights of what I put together for his party.
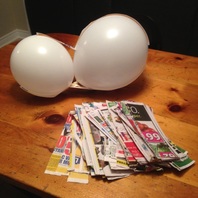
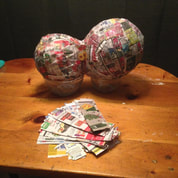
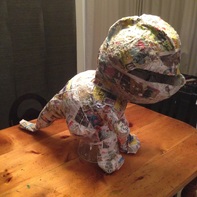
We celebrated my son's birthday a little while ago and threw him a Jurassic Park inspired party. As per tradition, I made his piñata which this year was a T-rex. I'll be posting highlights from the party in the next few days but right now here are the basics on how I created this cute but slightly scary T-rex piñata. 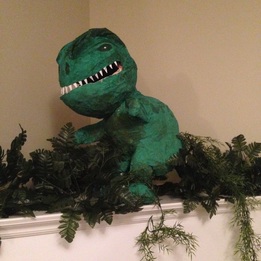 What You Need
Head and Jaws
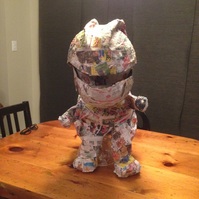
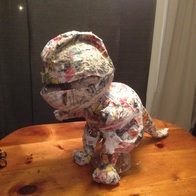
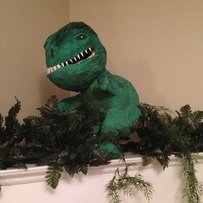
Finishing Touches
That is it...it only took a few days to create it and the birthday boy absolutely loved it. If you have any questions on the process, please post them in the comments and I will answer them as best I can. If you try it, let me know how it goes.
We had such an amazing mini summer vacation full of moments like this! I am feeling blessed, revitalized and ready to tackle the last few weeks of summer break with these little munchkins. 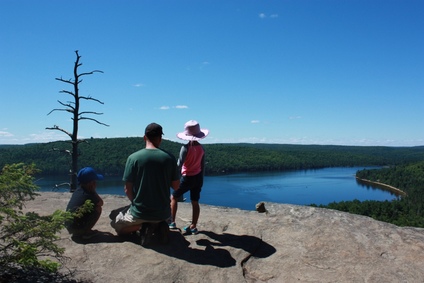 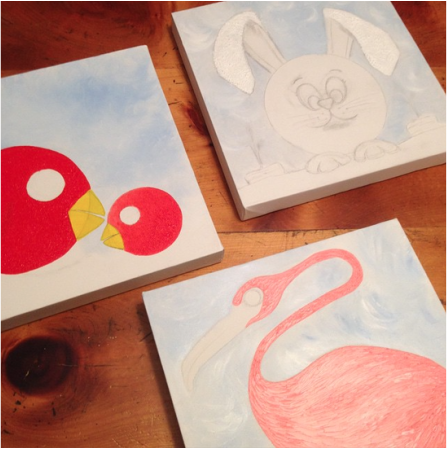 Been working on some nursery/childrens room paintings.
A flamingo, some birds and a little bitty bunny equal FUN! 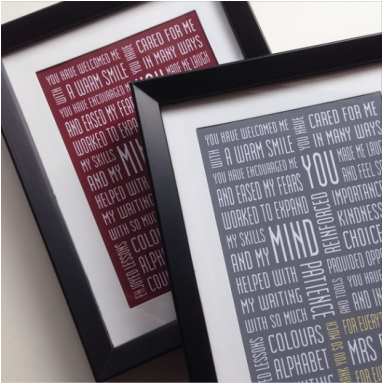 I have been busy creating custom orders including these custom Teacher Appreciation Prints.
We have one for preschool teachers and grade school teachers, customized with their name and in plenty of colours. Place it into a 5x7 frame and you have a great end of year gift. If your school year concludes at the end of June, there is still time to order one for that special teacher in your child's life. CANADIAN CUSTOMERS: If you are interested in ordering one and paying in CAD, you can now do so via this link here. As always, email me for any inquiries, custom orders or to just to say hi...I truly love hearing from you. |
WELCOME!This is the place where I share my creative projects, endeavors and the stories that inspire my prints. LET'S CONNECT!YOU CAN ALSO FIND US ONFEATURED HERE


CATEGORIES
All
 THE SMALL PRINTAll images, designs and content, unless noted otherwise, are ©Karen Gonzalez-Jansen. |