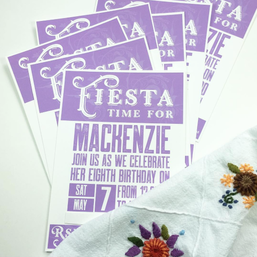
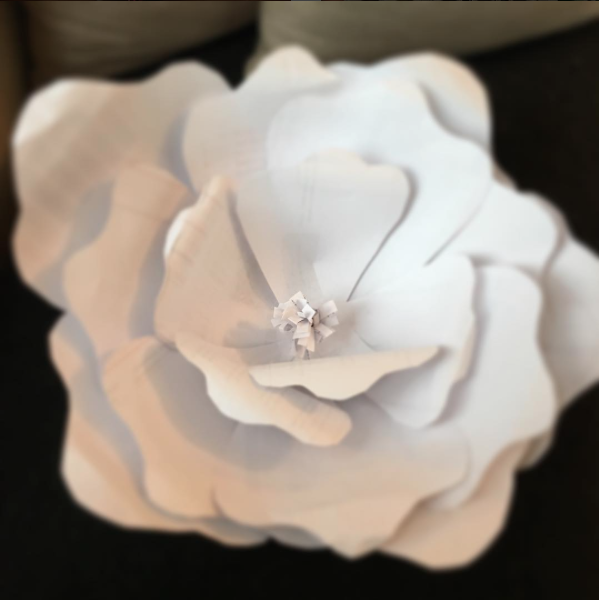
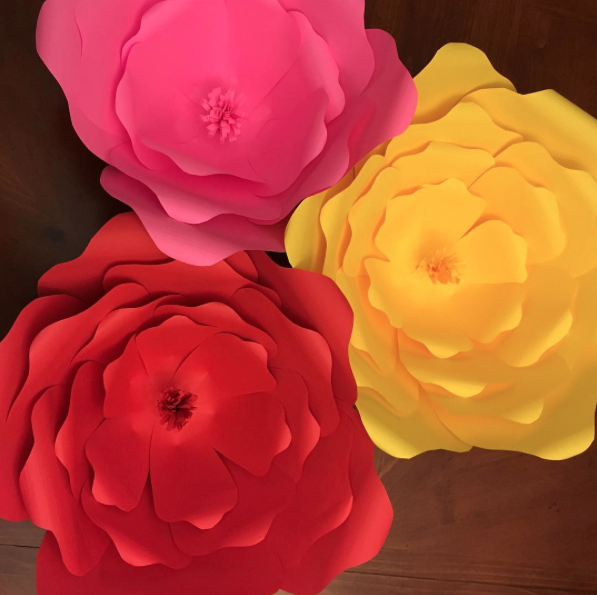
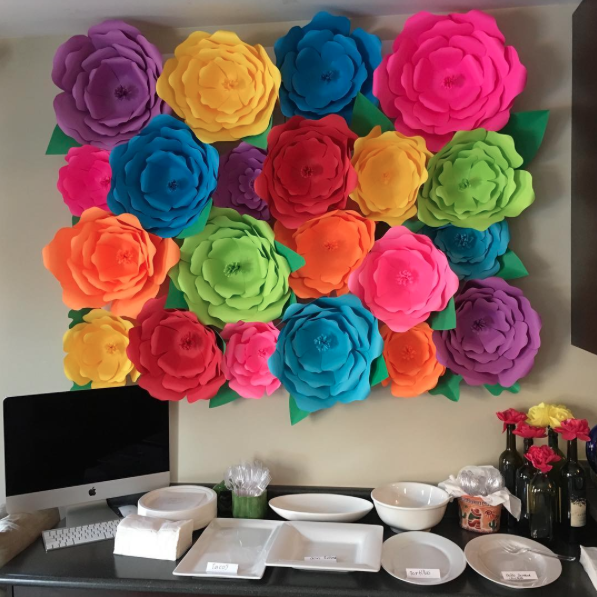
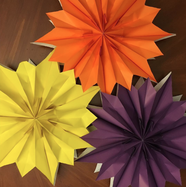
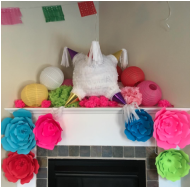
I have always wanted to try making giant paper flower and this was the perfect reason to finally to do them. I started with a practise attempt using scrap printer paper and when that worked out well, I bought a pack of coloured paper from Walmart to make the final ones.
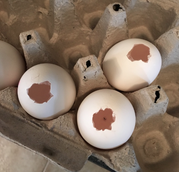
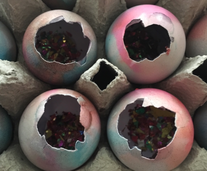
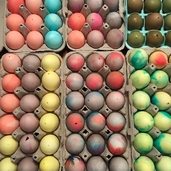
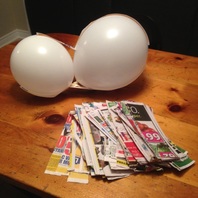
Another fun thing I have always wanted to try is making Cascarones. If you are not familiar with these, Cascarones are confetti filled eggshell that you essentially smash open on each others heads. We started collecting empty eggshells in April, then dyed them, stuff them with confetti and it was a big hit with the kids. Note: Brown eggs do not dye and they do not break like white eggs do! It was like those birthday candles that don't blow out...brown eggs had to get smashed HARD to break...my husband and I volunteered to be the target for those ones.
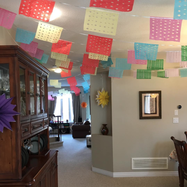
We also made stars out of coloured paper bags (I saw this tutorial on Facebook). I never knew you could do this and it was so incredibly simple! Of course we had traditional banners through out the house, floral head bands for all the girls and a classic piñata!
0 Comments
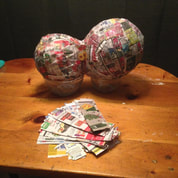
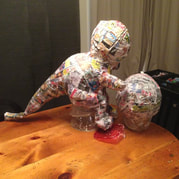
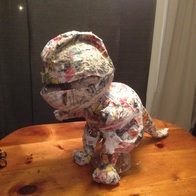
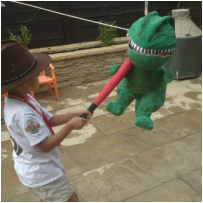
We celebrated my son's birthday a little while ago and threw him a Jurassic Park inspired party. As per tradition, I made his piñata which this year was a T-rex. I'll be posting highlights from the party in the next few days but right now here are the basics on how I created this cute but slightly scary T-rex piñata. 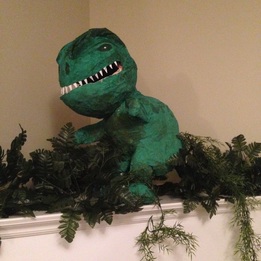 What You Need
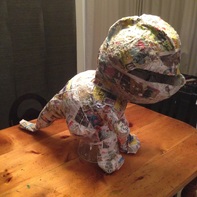
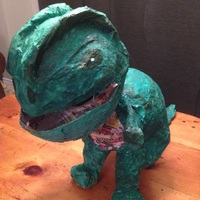
Head and Jaws
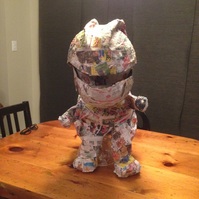
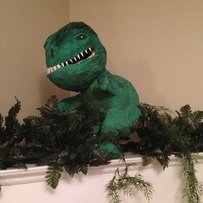
Finishing Touches
That is it...it only took a few days to create it and the birthday boy absolutely loved it. If you have any questions on the process, please post them in the comments and I will answer them as best I can. If you try it, let me know how it goes.
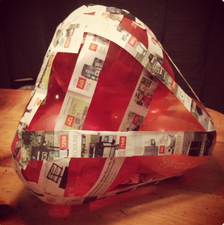
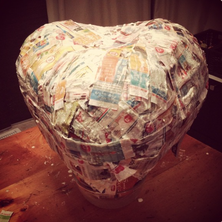
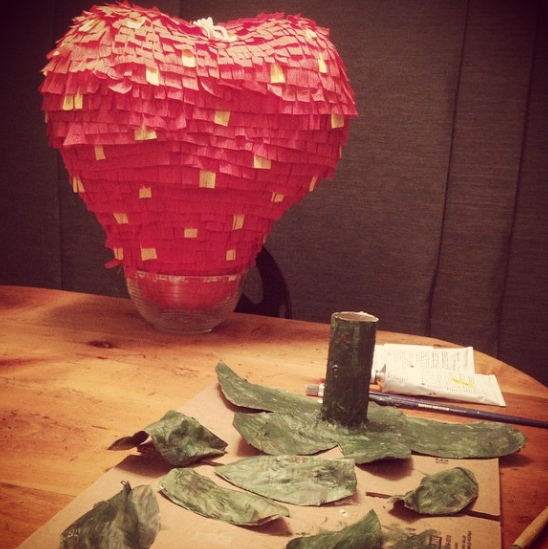
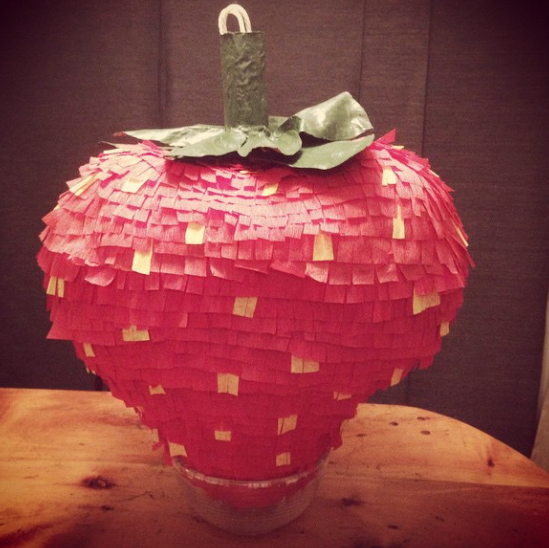
Piñatas have become one of my favourite things to create, like this Joker Piñata and Olaf Piñata. This year my daughter asked for a Strawberry Shortcake party and naturally I decided to make her a giant strawberry for her piñata. Many people are interested in knowing the process of making a piñata therefore I am sharing my process. It isn't difficult to make a piñata but it does take patience for the drying (this is not afternoon project) and patience to fringe all the streamers but it is not difficult and kinda fun! What you need:
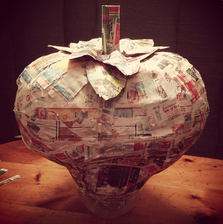
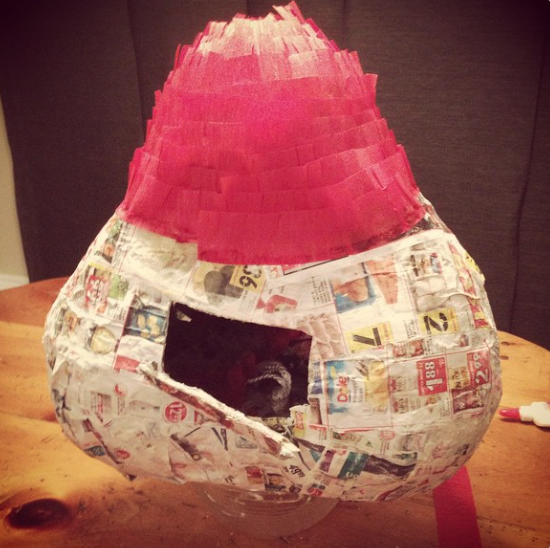
I hope that gives you an idea on how to make this strawberry piñata and how the concept can apply to any shape or character. Let me know if you use these tips to make your own, I would love to see them. Also, I'll be sharing the rest of her Strawberry Shortcake party later this month.
|
WELCOME!This is the place where I share my creative projects, endeavors and the stories that inspire my prints. LET'S CONNECT!YOU CAN ALSO FIND US ONFEATURED HERE


CATEGORIES
All
 THE SMALL PRINTAll images, designs and content, unless noted otherwise, are ©Karen Gonzalez-Jansen. |