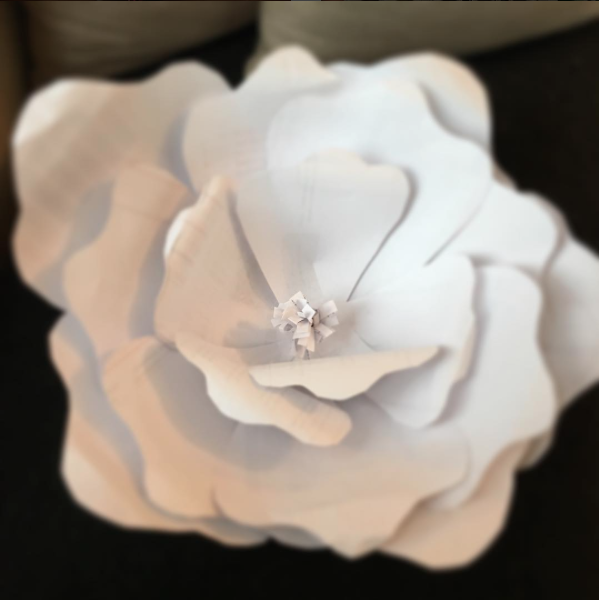
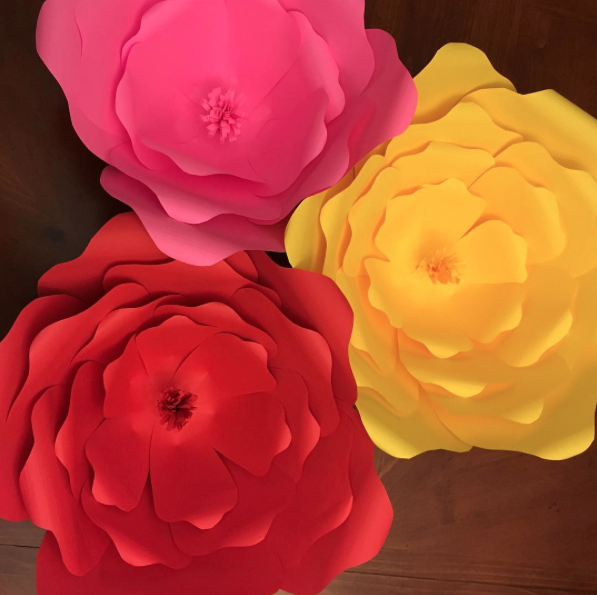
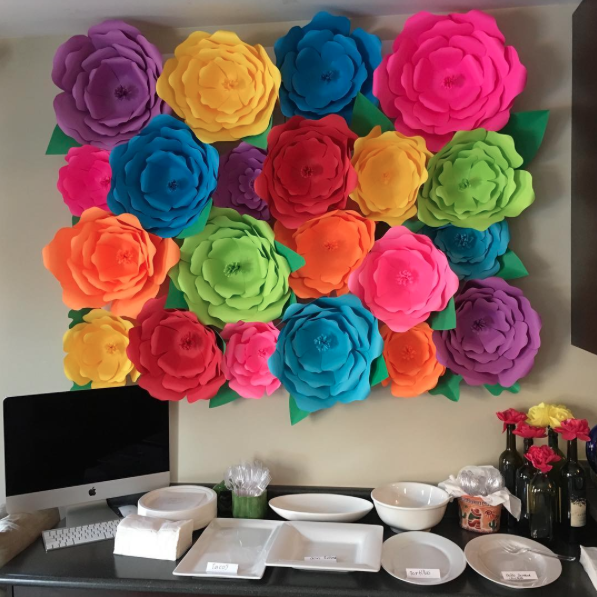
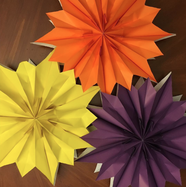
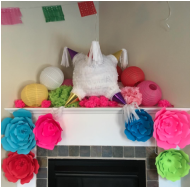
I have always wanted to try making giant paper flower and this was the perfect reason to finally to do them. I started with a practise attempt using scrap printer paper and when that worked out well, I bought a pack of coloured paper from Walmart to make the final ones.
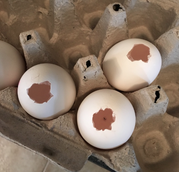
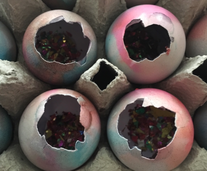
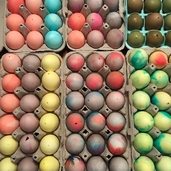
Another fun thing I have always wanted to try is making Cascarones. If you are not familiar with these, Cascarones are confetti filled eggshell that you essentially smash open on each others heads. We started collecting empty eggshells in April, then dyed them, stuff them with confetti and it was a big hit with the kids. Note: Brown eggs do not dye and they do not break like white eggs do! It was like those birthday candles that don't blow out...brown eggs had to get smashed HARD to break...my husband and I volunteered to be the target for those ones.
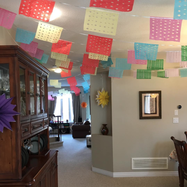
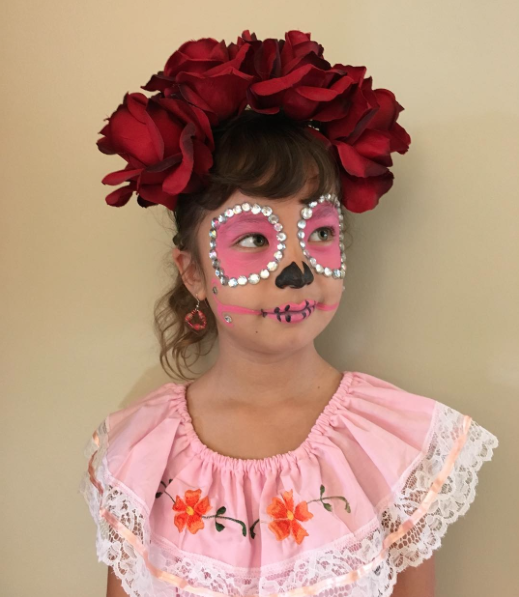
We also made stars out of coloured paper bags (I saw this tutorial on Facebook). I never knew you could do this and it was so incredibly simple! Of course we had traditional banners through out the house, floral head bands for all the girls and a classic piñata!
0 Comments
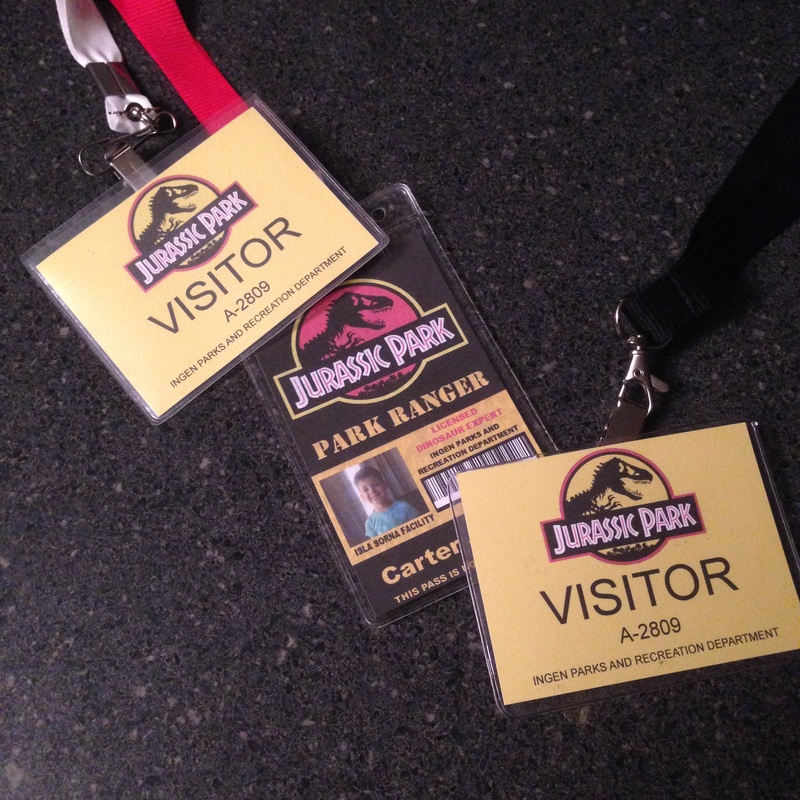
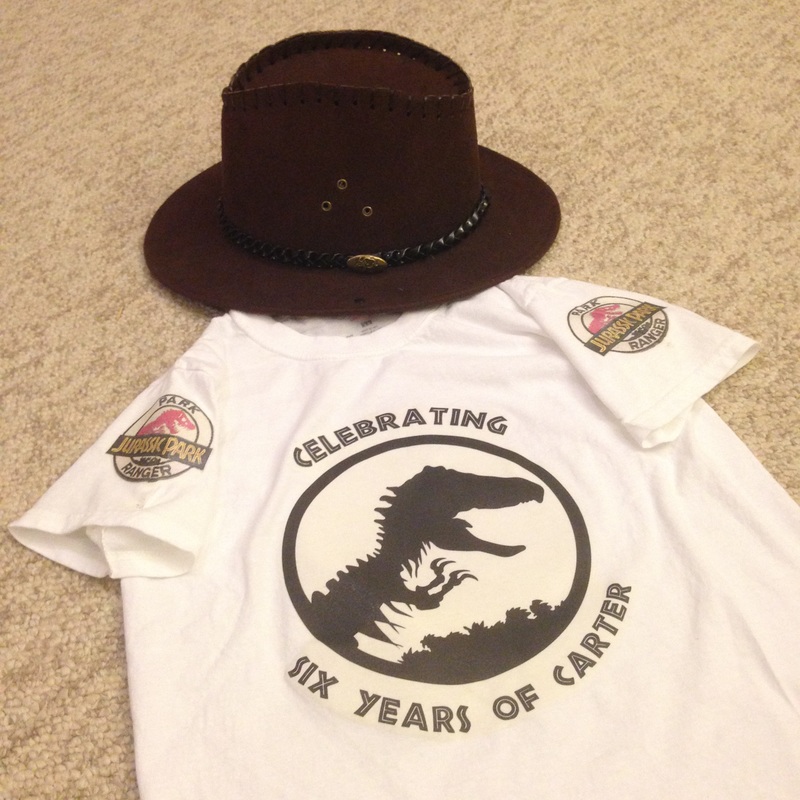
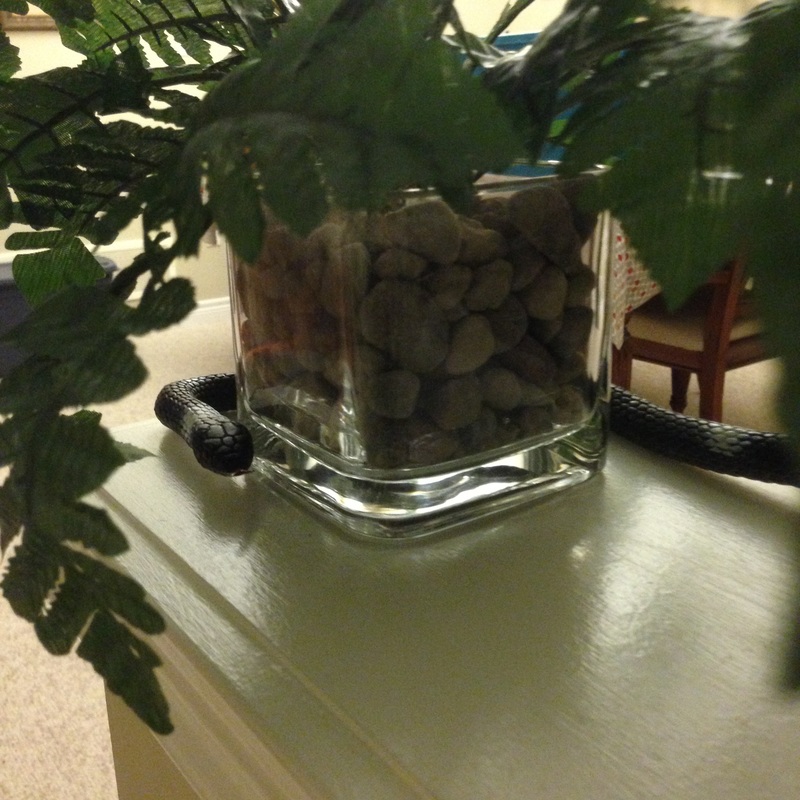
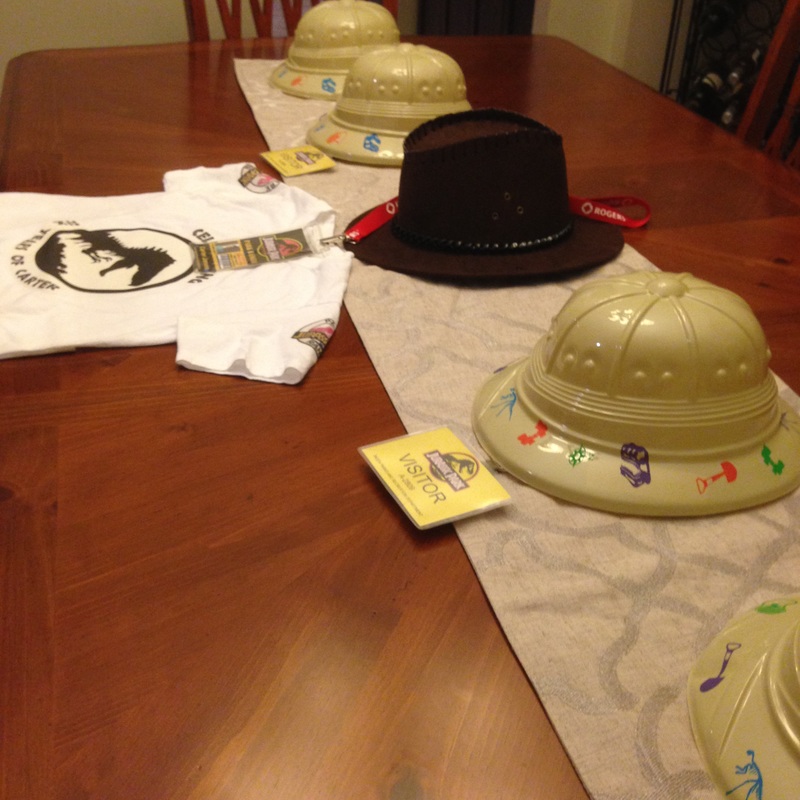
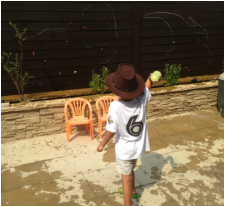
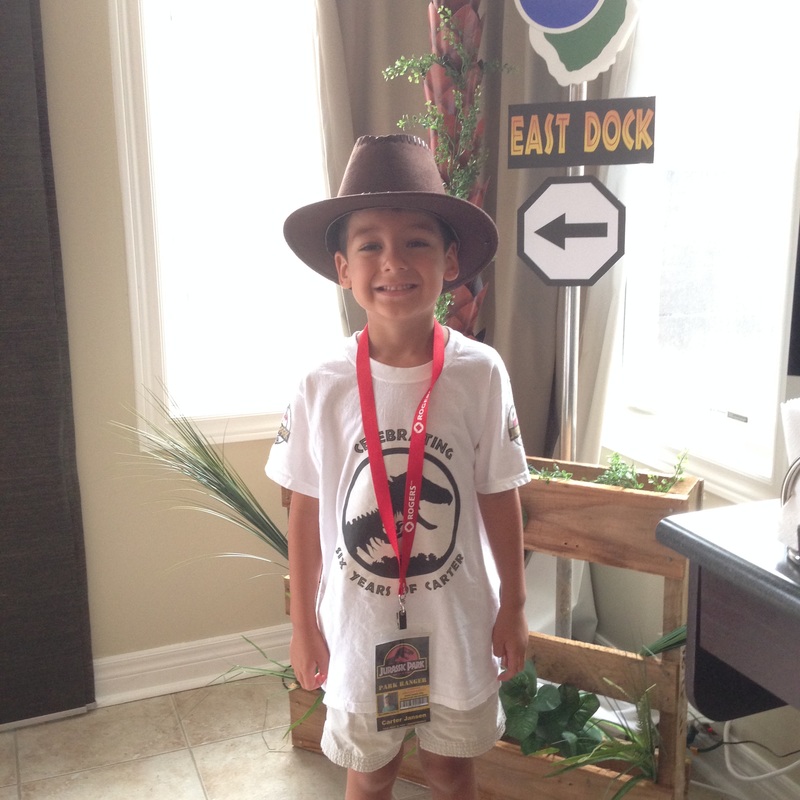
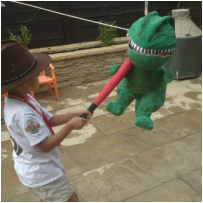
We recently celebrated my son's birthday and did so with a Jurassic Park inspired party. My previous post shares how I created his dinosaur piñata and now I will share the highlights of what I put together for his party.
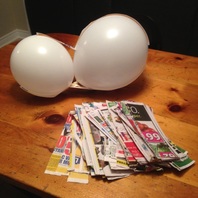
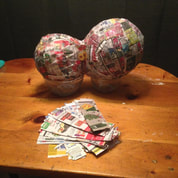
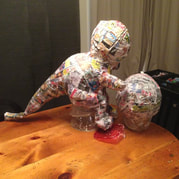
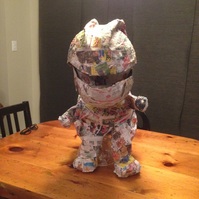
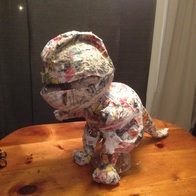
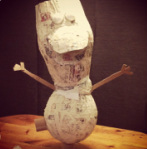
We celebrated my son's birthday a little while ago and threw him a Jurassic Park inspired party. As per tradition, I made his piñata which this year was a T-rex. I'll be posting highlights from the party in the next few days but right now here are the basics on how I created this cute but slightly scary T-rex piñata. 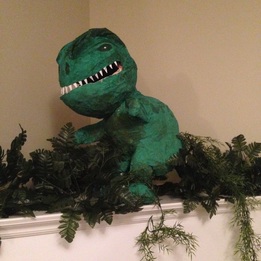 What You Need
Head and Jaws
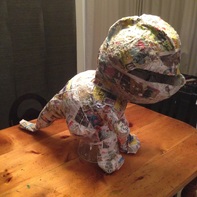
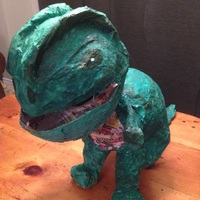
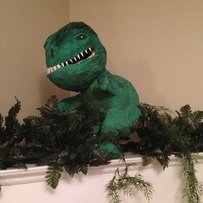
Finishing Touches
That is it...it only took a few days to create it and the birthday boy absolutely loved it. If you have any questions on the process, please post them in the comments and I will answer them as best I can. If you try it, let me know how it goes.
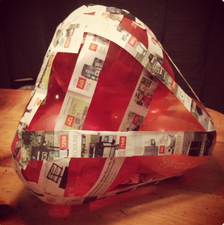
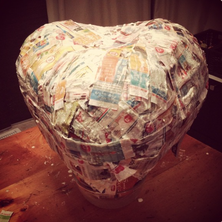
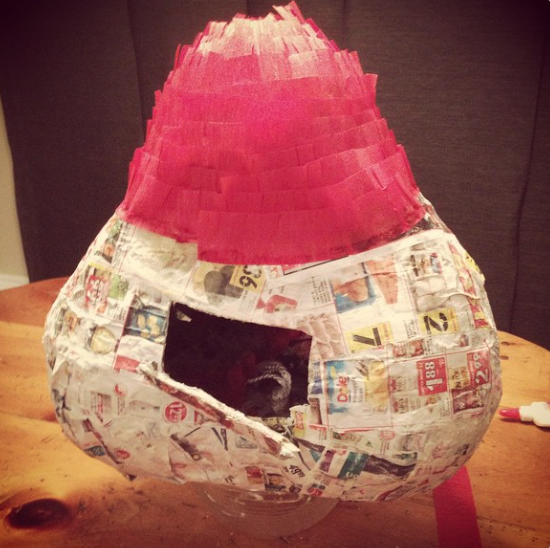
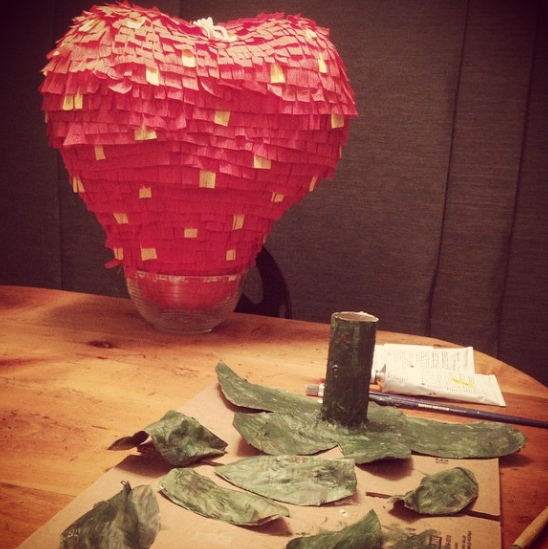
Piñatas have become one of my favourite things to create, like this Joker Piñata and Olaf Piñata. This year my daughter asked for a Strawberry Shortcake party and naturally I decided to make her a giant strawberry for her piñata. Many people are interested in knowing the process of making a piñata therefore I am sharing my process. It isn't difficult to make a piñata but it does take patience for the drying (this is not afternoon project) and patience to fringe all the streamers but it is not difficult and kinda fun! What you need:
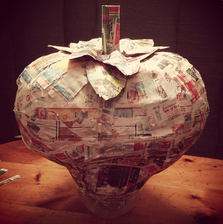
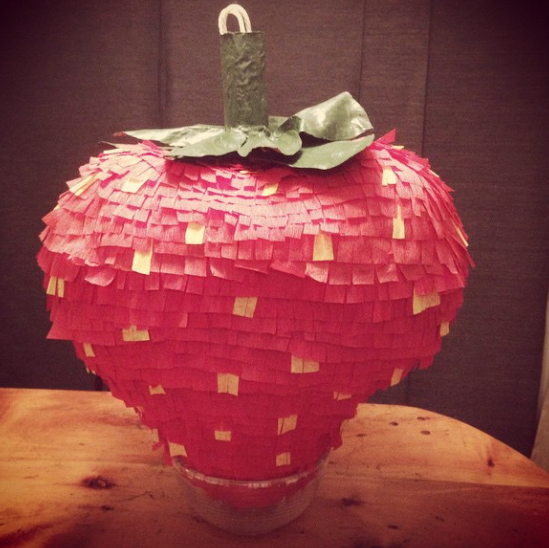
I hope that gives you an idea on how to make this strawberry piñata and how the concept can apply to any shape or character. Let me know if you use these tips to make your own, I would love to see them. Also, I'll be sharing the rest of her Strawberry Shortcake party later this month.
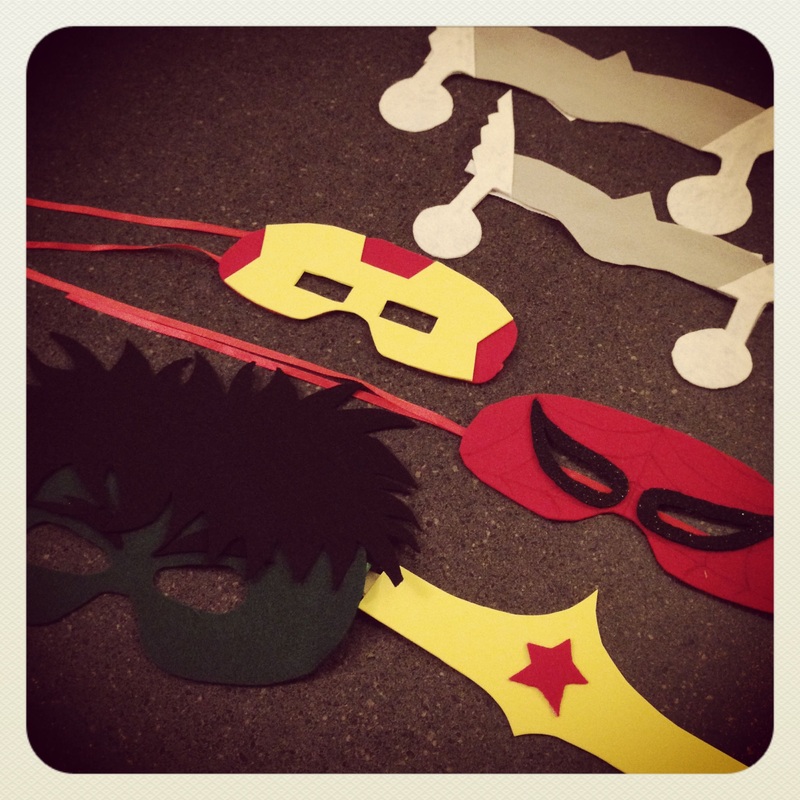
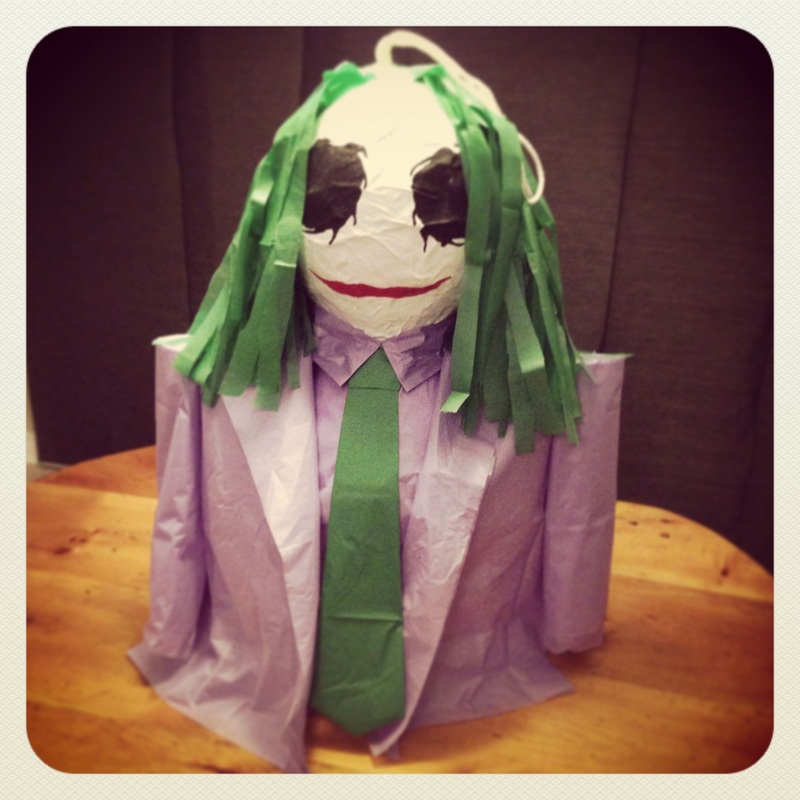
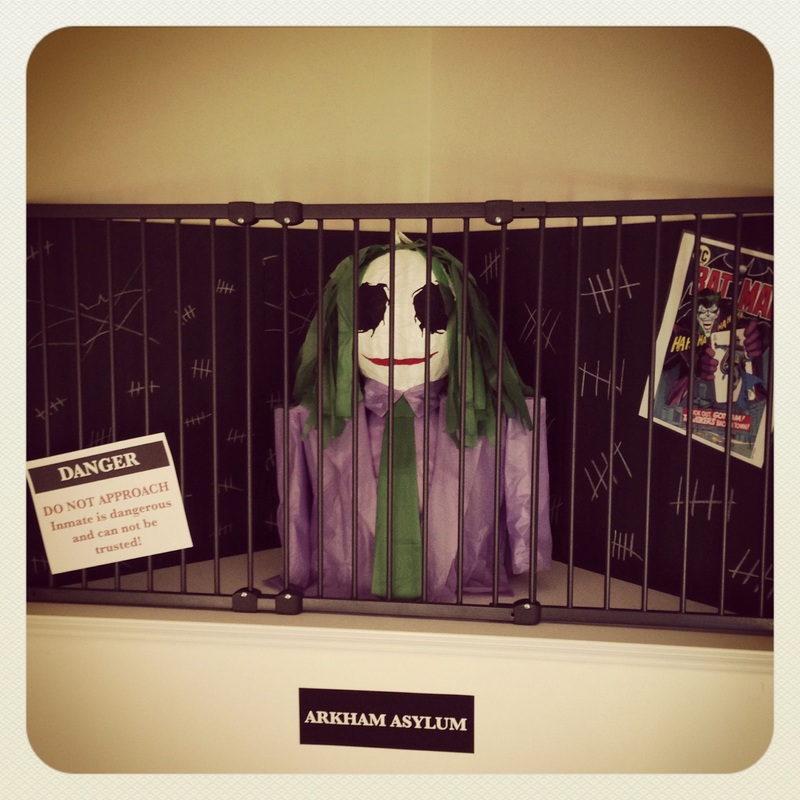
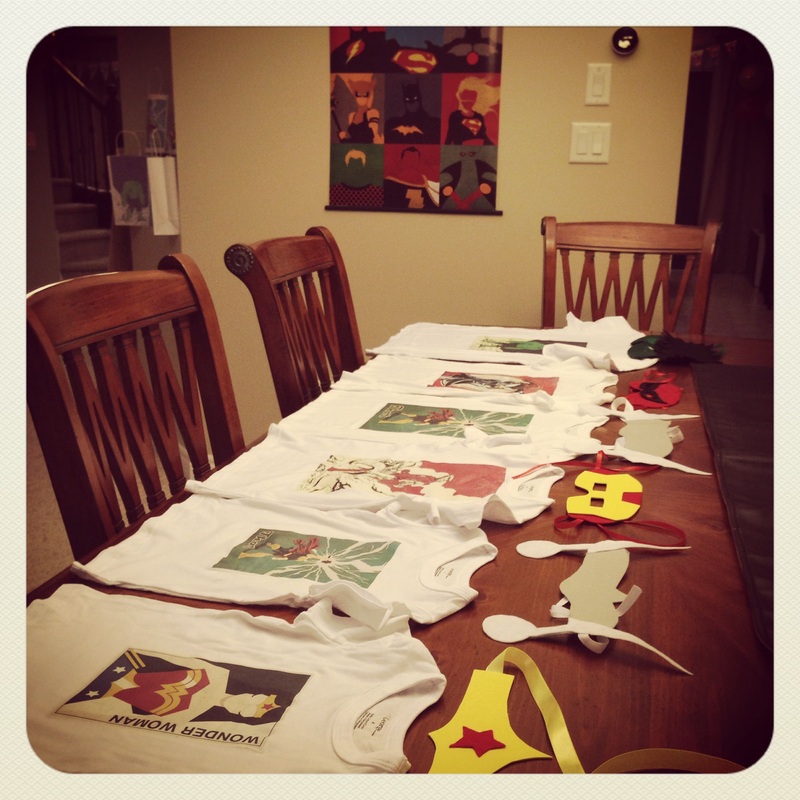
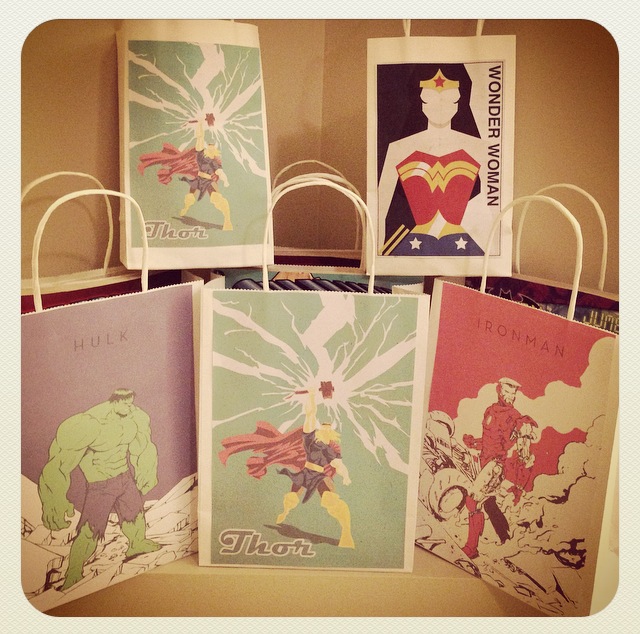
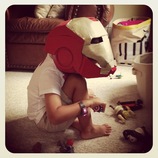
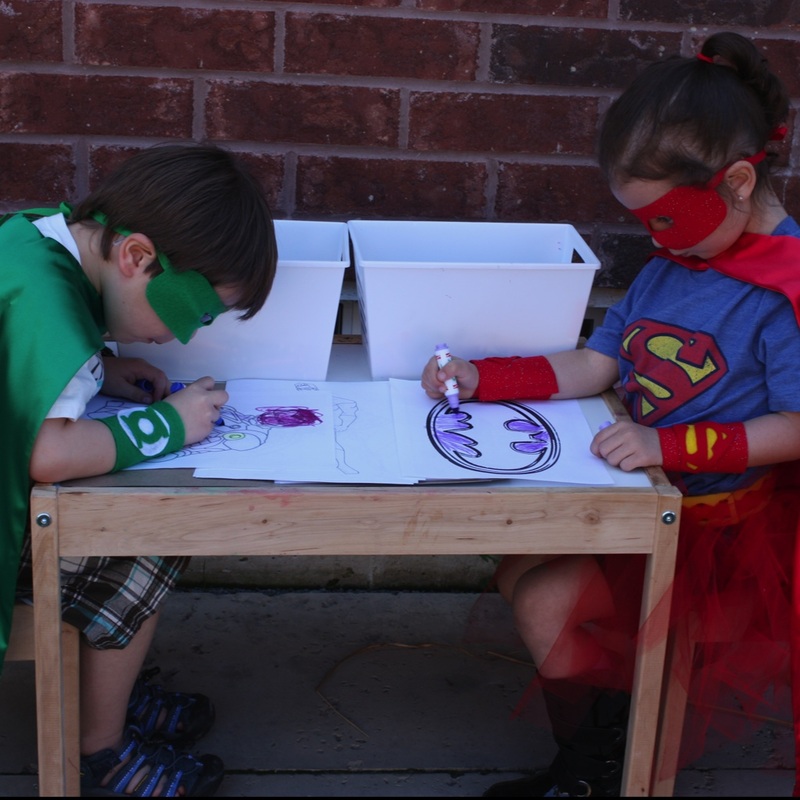
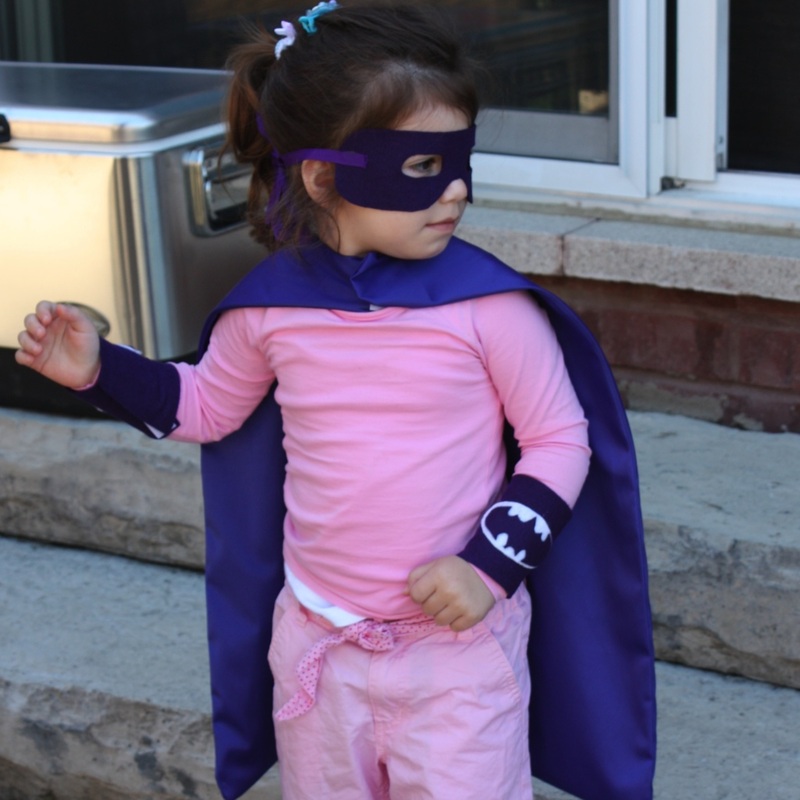
 When we asked our son what sort of party he might want for his 5th birthday, he immediately responded with "A SUPER HERO PARTY"! He went on to explain that he knew he wanted a boy hero party this since we threw his sister a Super Girl Party last year...sweet right? What took longer, a great deal longer, was for him to decide that he wanted to be Iron Man at his party but once that was decided, the rest was fun party prep for me!
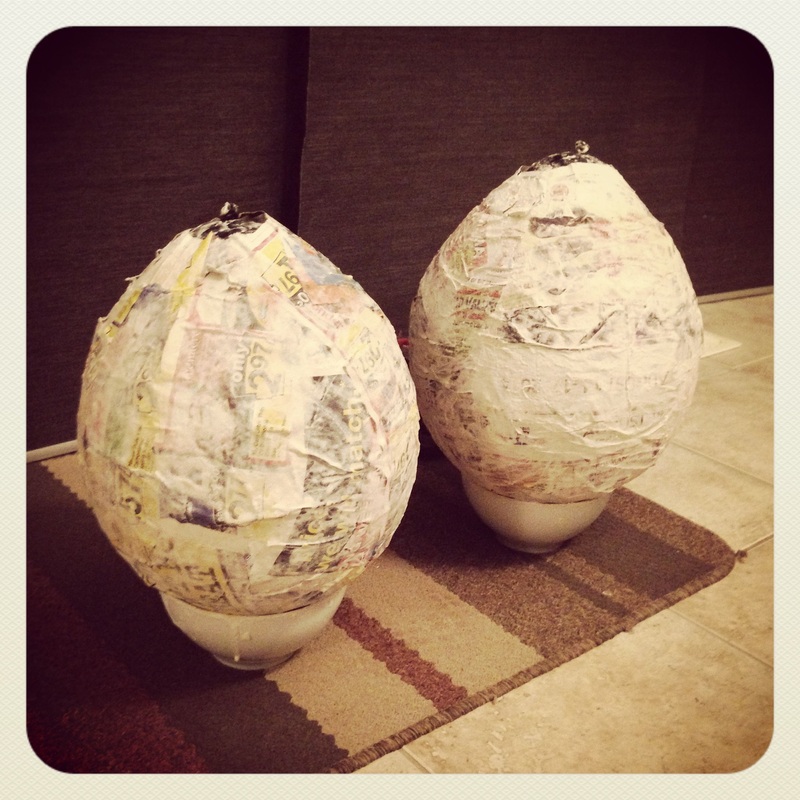
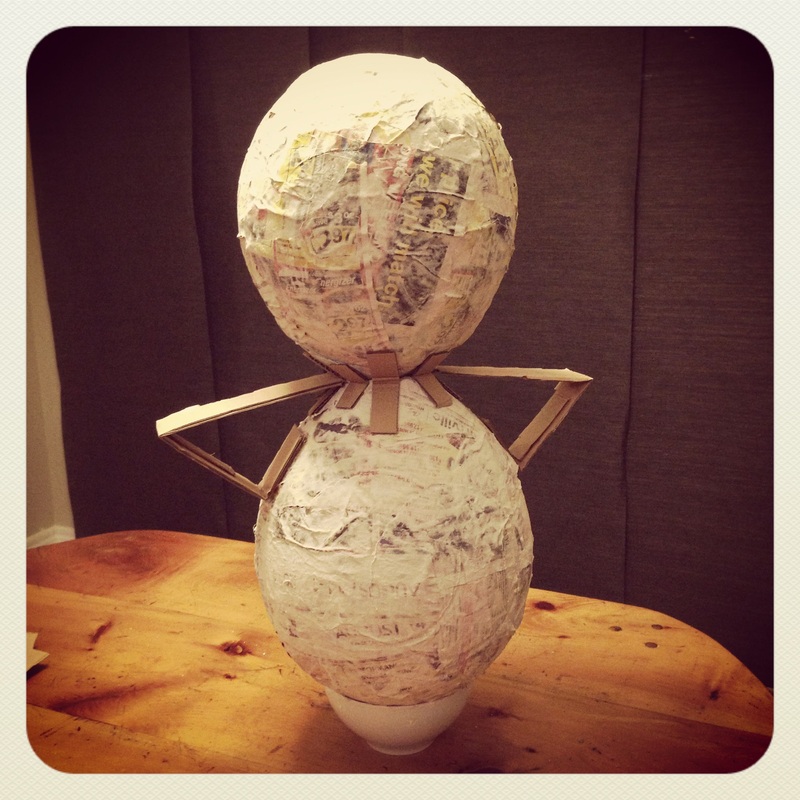
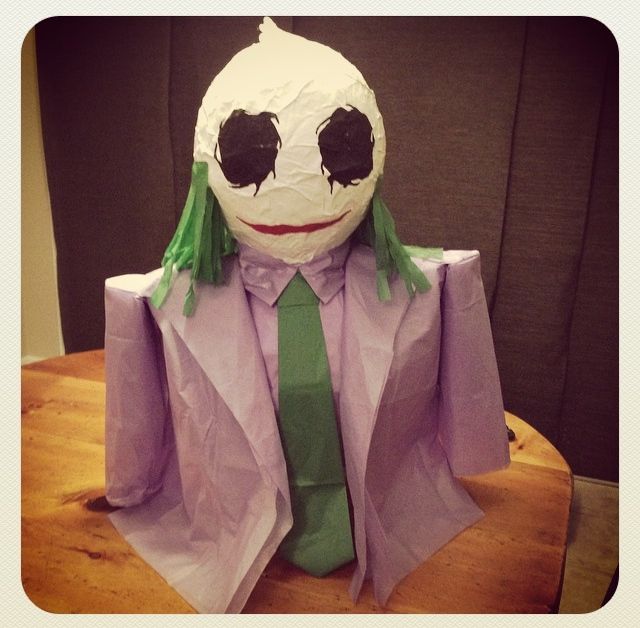
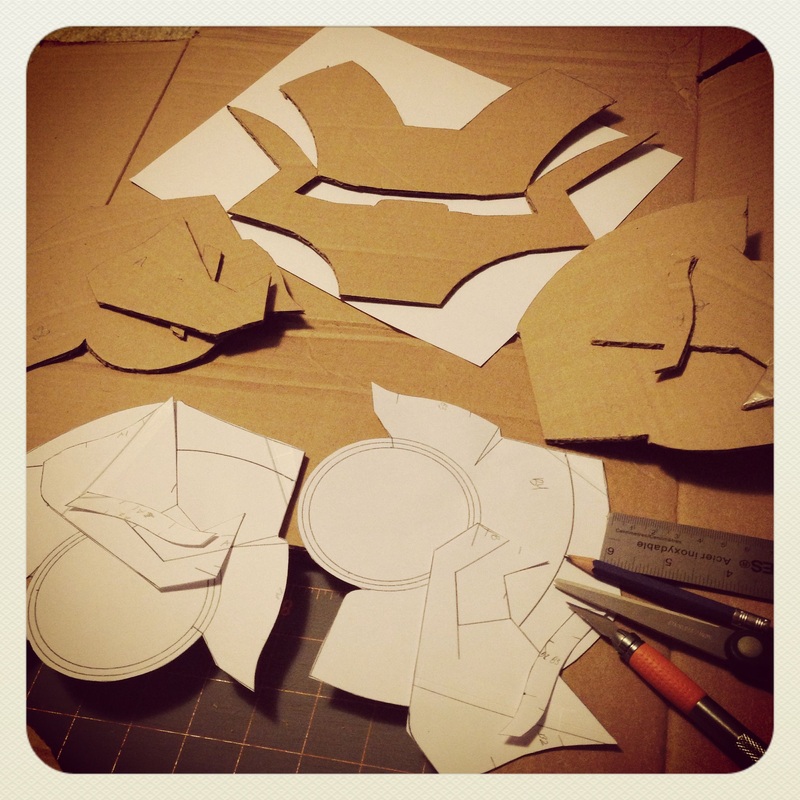
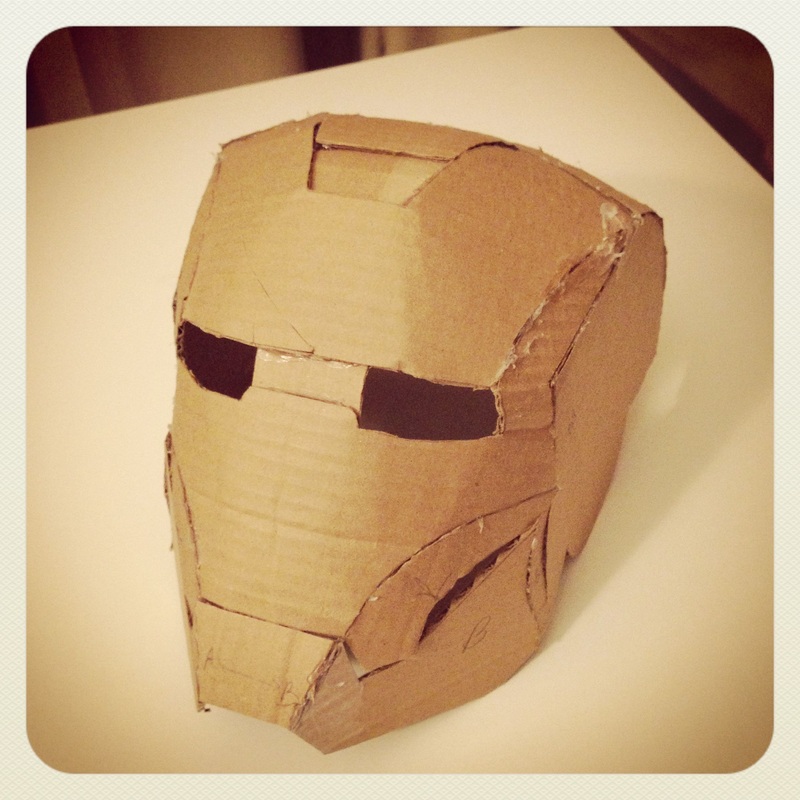
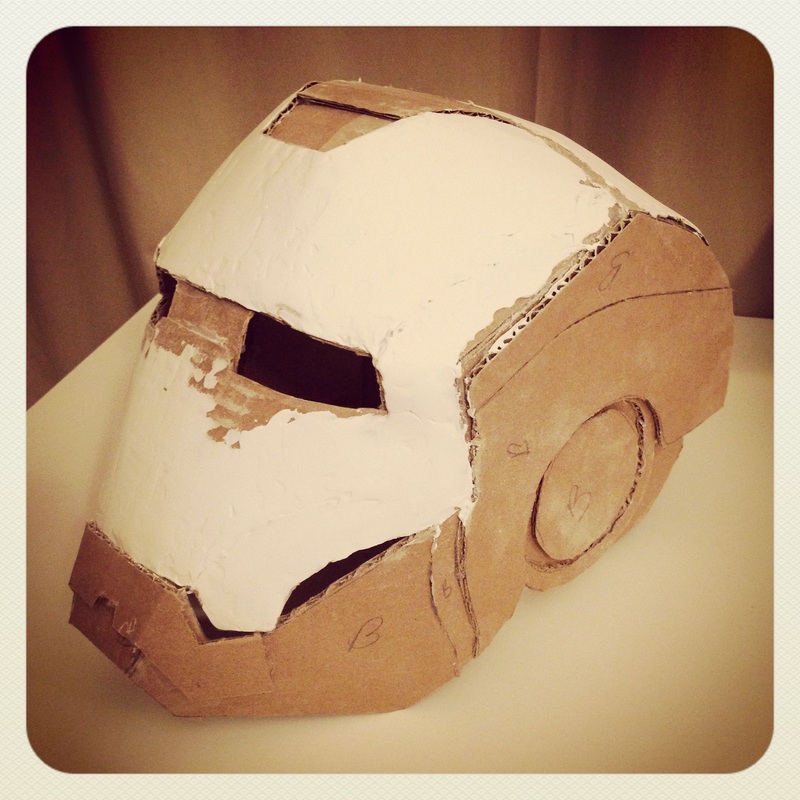
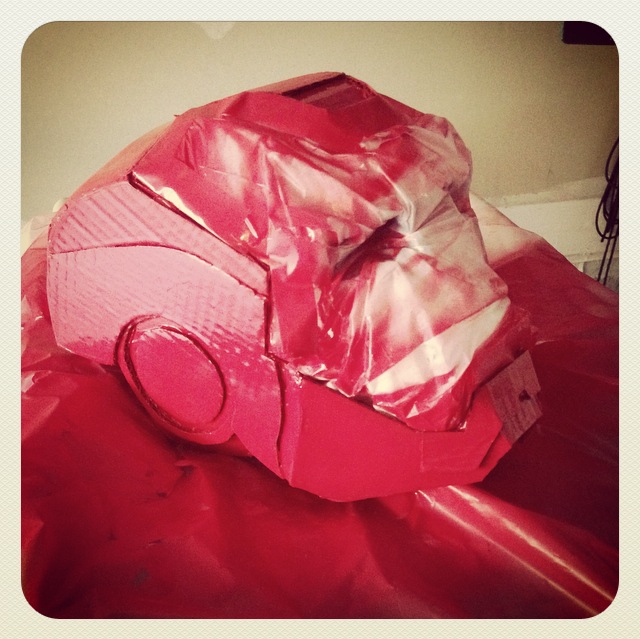
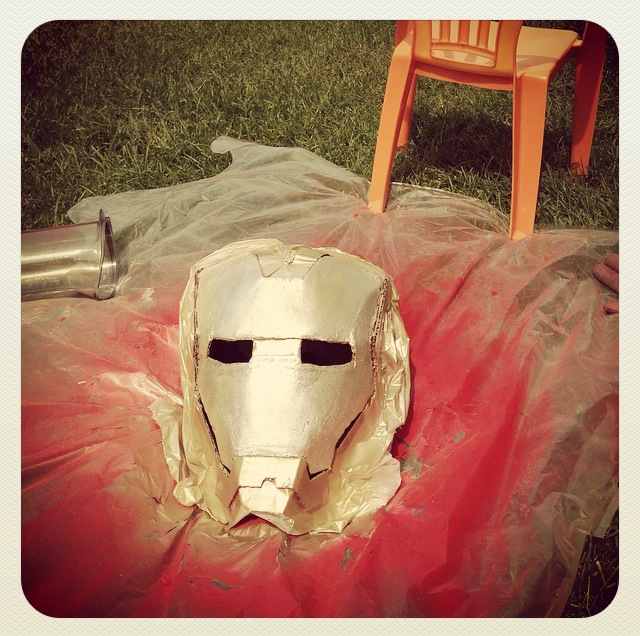
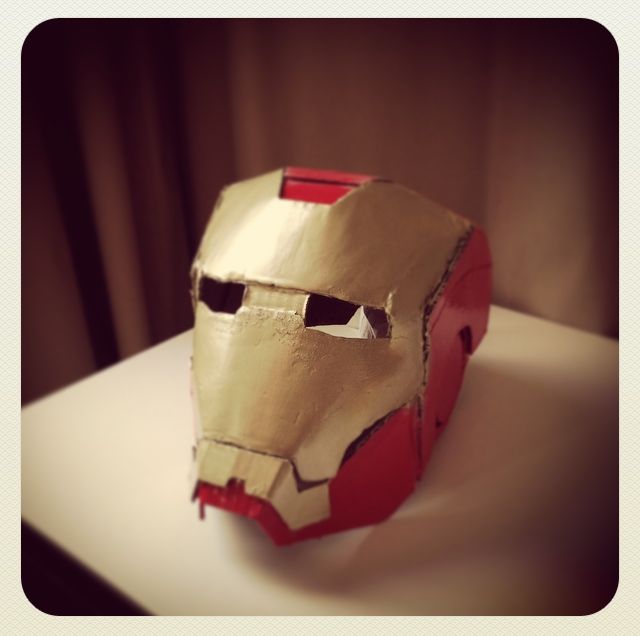
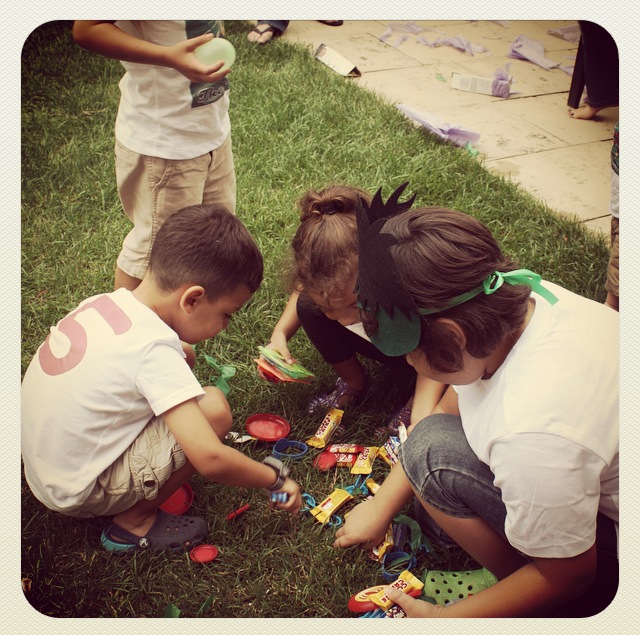
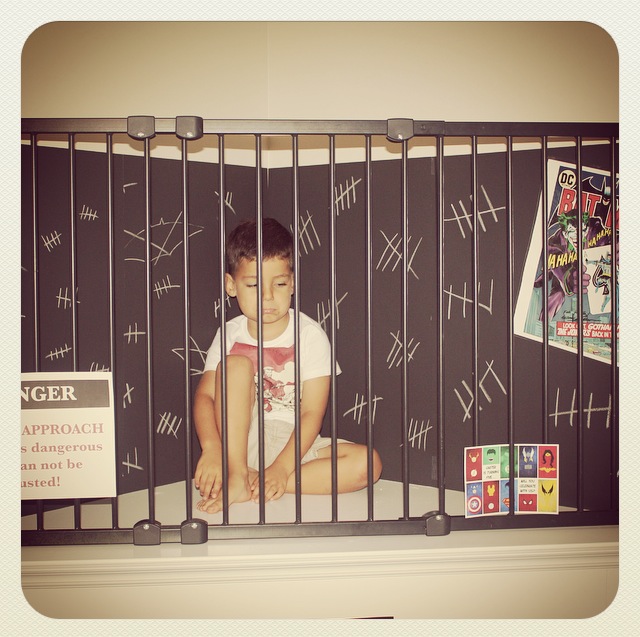
Once I had her mask right, it served as my template for all the others. I reduced it by about 20% for baby/toddlers and added 20% for the bigger kids. Traced them all onto felt or foam and voila...masks! Next was the piñata...I have a renewed love of paper mache and piñata making! I didn't want to make a "Good Guy" piñata (something about bashing up a good guy just doesn't feel right) so the joker was the easiest and creepiest way to go. Balloons, flour, water, old cardboard, old newspaper, hot glue gun, acrylic paint, rope and tissue paper. That, plus time and candy, is all you need to make this piñata and as you can see from the pictures below....it really is not that complicated. Iron Man mask...My favourite project was his iron man mask! Yes, I could have just purchase an Iron Man masks from Walmart for $10 but I really (really) just wanted to see if I could make this...I have issues, I know. Moving on. I used a tutorial I found here to make this mask. I simplified it quite a bit for our purposes but I did it! I have never been good with spray paint, so I found that the most difficult part, the rest just took patience. Now this was a lot more work than it's worth but I think the fact that most people didn't realize it was home made at first was a personal crafty achievement for me. More importantly, my son was so interested in the process of it being created, my test fitting it on him, watching me spray paint it a few times (I hate spray paint), he thought it was amazing that I was making this just for him. That is what made it worth while. The finishing touches...The rest was custom shirts, matching loot bags, and the finishing touches. I covered the house in my personal collection of comic book art and posters. I usually have these limited to our room and my studio, so it was fun seeing it everywhere. The piñata was of course lots of fun but it was the water ballon game that was the big hit. I printed a few pictures of bad guys I found here, put them in page protectors sealed with tape and hot glued them to an old piece of plywood we had. My husband spent a week filling water balloons in his spare time and I think he cried a little when he saw how quickly they went through the over 300 water balloons. It was well worth it though, our son is still talking about fun that was. Happy Birthday Little Guy
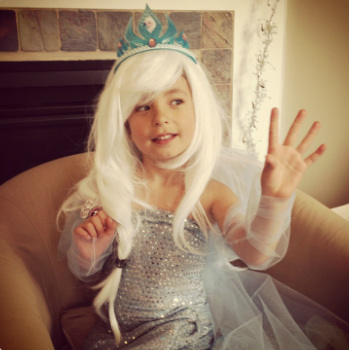
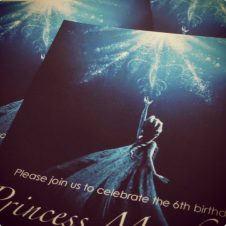 A few weeks ago my little girl turned 6 and of course like most little girls she is enamoured with the movie Frozen. The music, the visuals, the characters, especially Elsa. So it wasn't a surprise that she requested a Frozen themed birthday party. I have to admit that I was a little hesitant with the theme because it had been such a cold and ridiculously long winter and the last thing I wanted to do was bring winter back. However, it all got better once I stopped pouting about it and realized how little this party would cost since most of our Christmas decorations are the perfect colours. Yay! The Dress For her it was all about the dress, an Elsa dress. Fortunately, I found the perfect fabric and tulle in the discount rack. My skills with the sewing machine are average (maybe less) but I made it up as I went and I think it turned out alright. I also found a white wig at my local party store for a $15 that I simply couldn't pass up. Between the dress and the wig, she was over the moon. 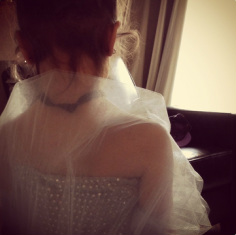
Sven Hats I try to make something for all the kids to wear during the party but I was at a loss as to what to make this time. Then I found these horse hats at the local Dollar Store and I immediatley knew that I could convert them into Sven hats. I purchased some extra foam paper, drew some antlers, cut them out, sandwiched some wire I had between them, removed a few things, added a few things...and voila, Sven hats! Note: I think I will do a tutorial for this sometime soon. 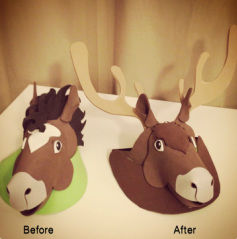
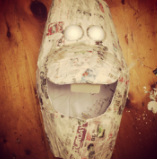
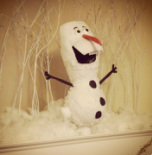
Olaf Piñata and the rest This by far was the most enjoyable project of the party. Using balloons, old newspapers and paper mache (flour/water), I was able to construct an Olaf piñata. It took about a week due to the drying time required but it was well worth it. The kids could not get enough of him, they talked to him, took care of him and then inevitably broke him open for the loot.
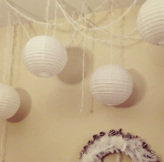
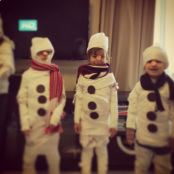
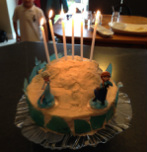
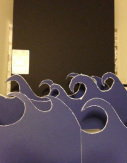
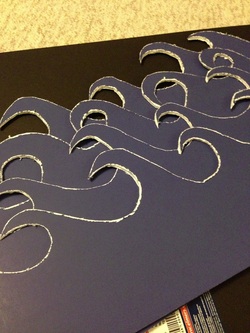
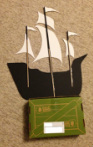
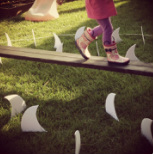
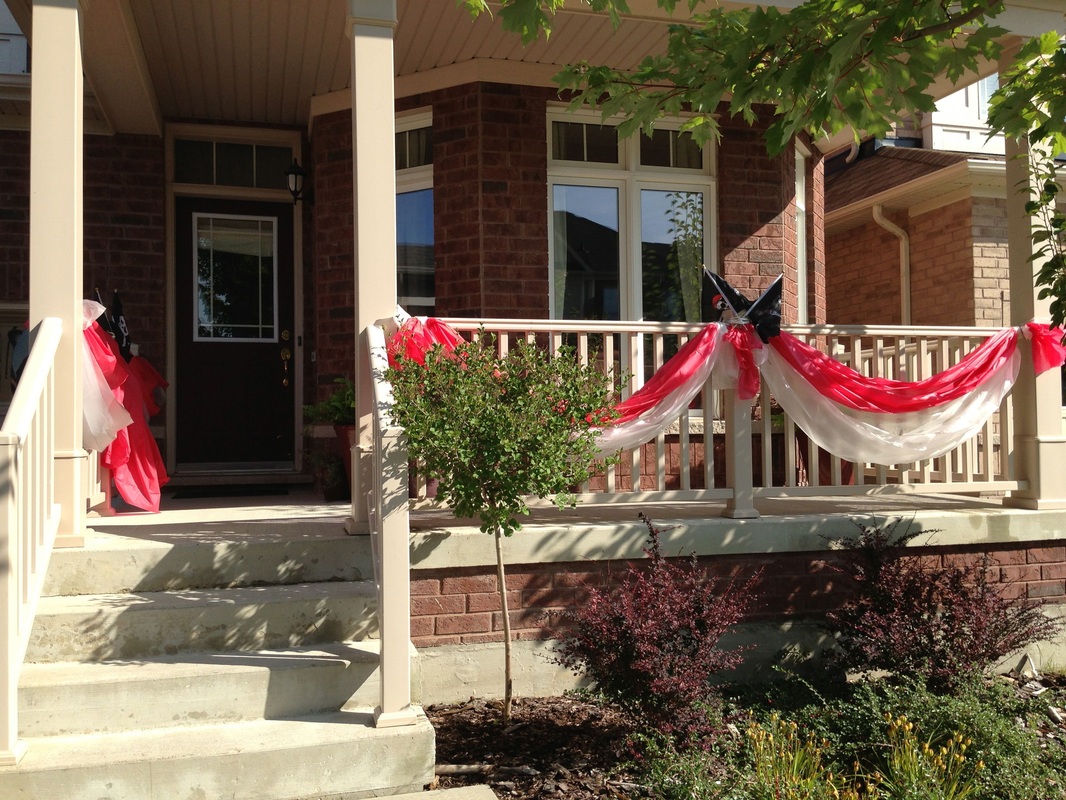
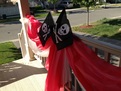
 The house was decorated with white and silver. Loot bags were made by using white bags and Olaf cut outs. We had the grown ups pair up with the their kids/grandkids for a 'build your own snowman' competition giving them a roll of toilet paper, tape, buttons and a scarf. This was HILARIOUS to watch and the kids had so much fun doing it. The cake was a home made ice cream cake, trimmed with home made blue candy and topped with Elsa and Anna. Those are the highlights, not perfect, not crazy over the top....just enough to make my little girl smile, sing and enjoy a magical birthday. Happy Birthday (not so) little one! This year for my son's 4th birthday we went with a Pirate Theme...Arg! He dressed up as a pirate last Halloween and really enjoyed it so it wasn't a big surprise when he chose this theme. If I was a smart mama, I would have seen this coming and wouldn't have donated his costume earlier in the year...but alas I did! As you know, I try not to spend very much on their parties so I had to come up with some creative ways to make his costume and decorate the house. Costume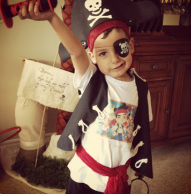
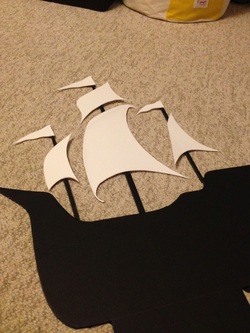
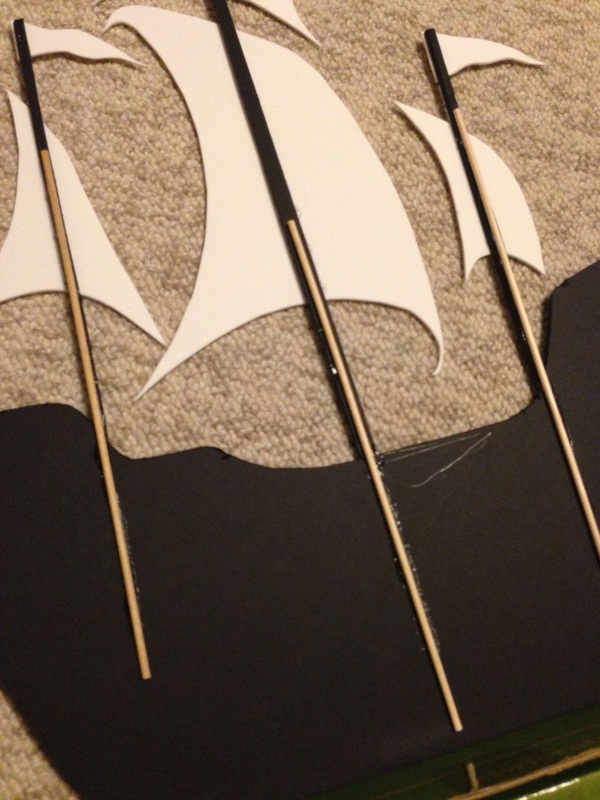
Pirate Ship on the Seas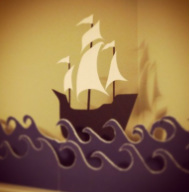
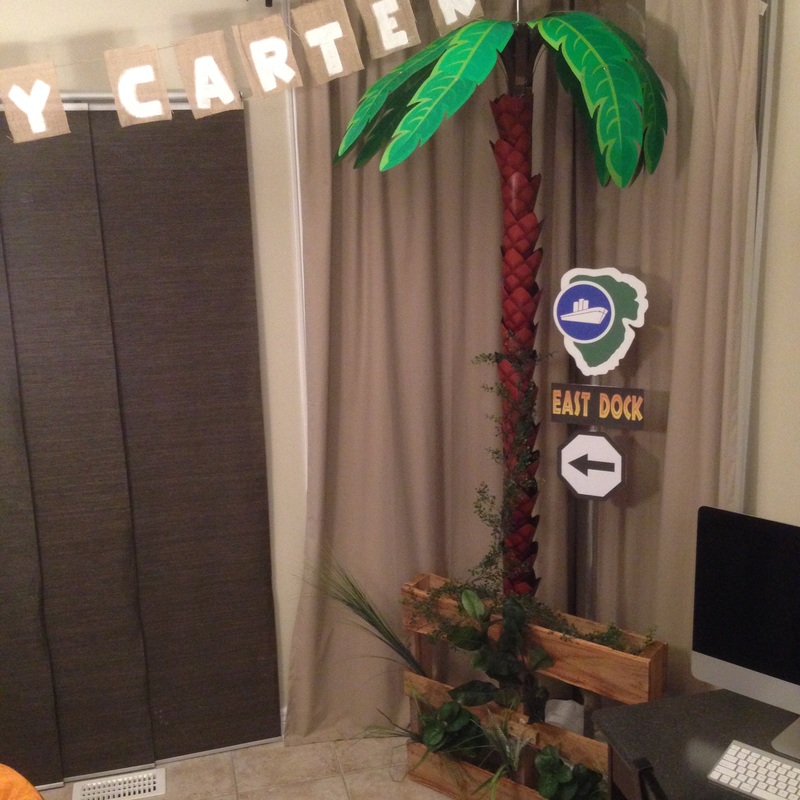
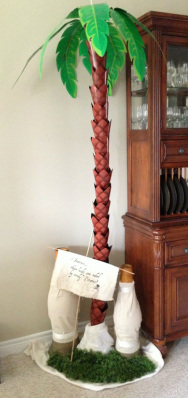
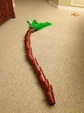
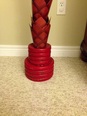
Palm Trees Islands
Walking the Plank
Everything Else
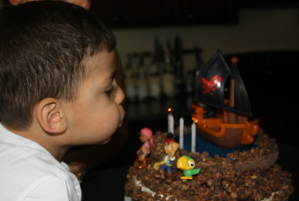 There were a few more details that I haven't shown here like mini treasure boxes everywhere with more jewels and chocolate coins, a pirate ship piñata, hidden treasures, fruit skewers, loot bags but from the moment of seeing my son's reaction to having the house decked out for his party...I simply forgot to take pictures of everything else.
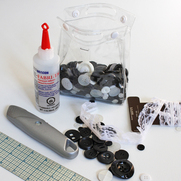
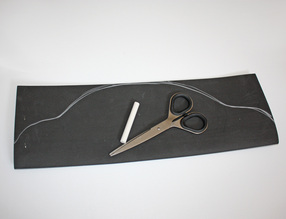
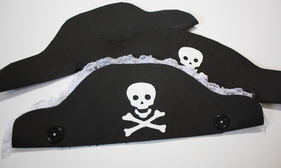
Oh well, the important thing is that he loved every bit of it, he had a great day with his family celebrating his 4th birthday and he reminds me of the fun he had that day every time he puts on his pirate hat....which, a month and a half later, is still often :) Two weeks ago we celebrated my sons 4th birthday and we celebrated it with a Pirate themed party. I will have a post about the party up soon but I thought I would start with a tutorial on how to make a Pirate hat in four easy steps with no sewing required! Materials Required
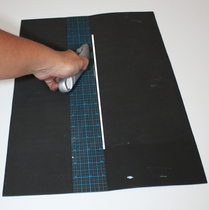
Step OneFold foam sheet in half. Cut a 12" opening down the middle crease. This will fit most heads from age 4 - 13.
Step TwoDraw the pirate hat outline while folded in half. Use chalk if you have it (pencil is harder to see). Then cut it out while folded.
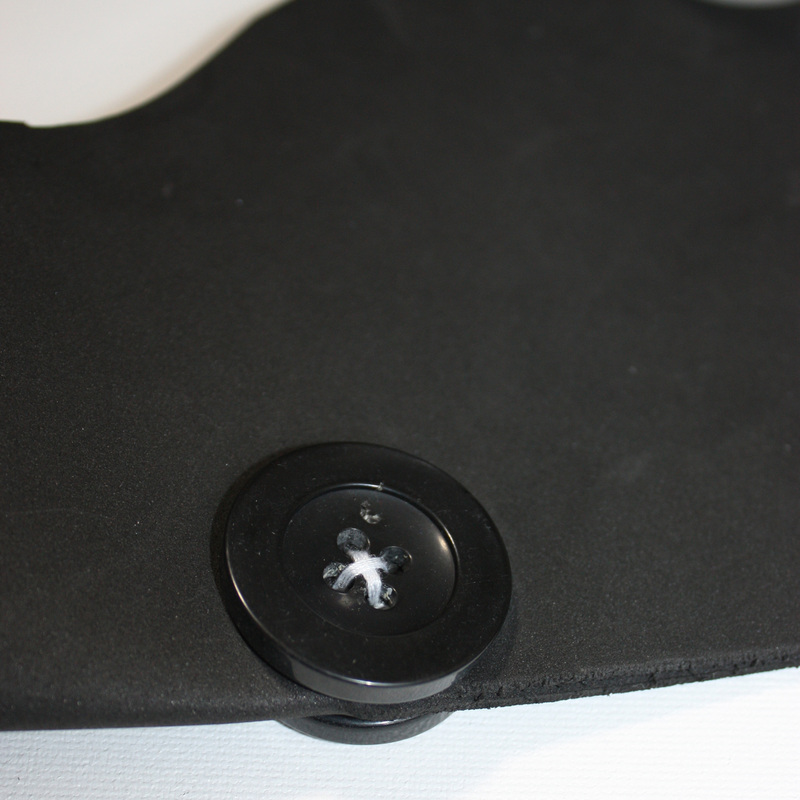
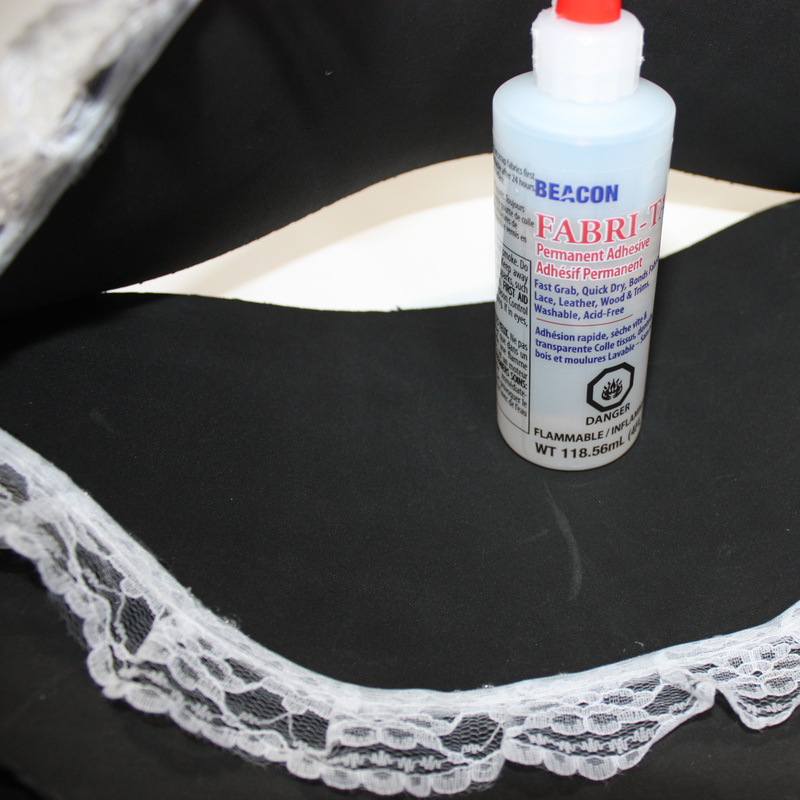
Step ThreeAdd a quarter size drop of Fabric Glue (hot glue will work too) just beside the end of the opening you cut down the middle, fold it back up and let it dry.
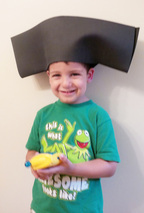
Step Four
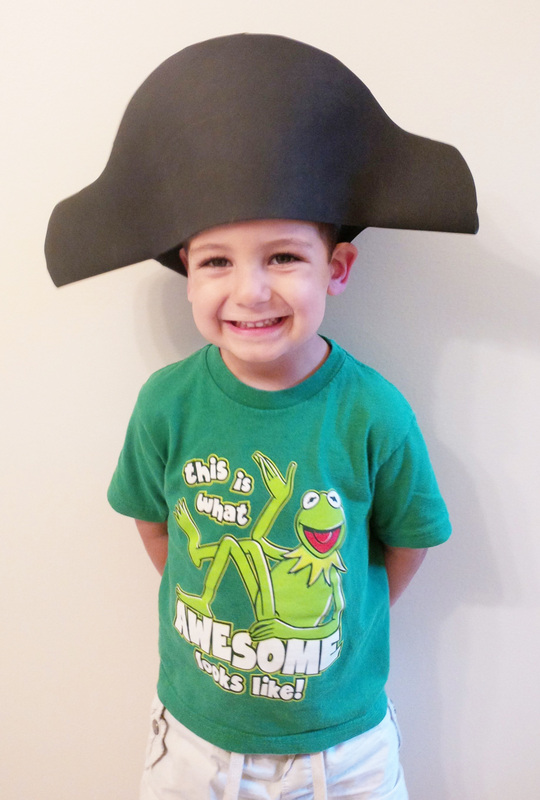
There you have it, four easy steps to make a pirate hat with no sewing required!
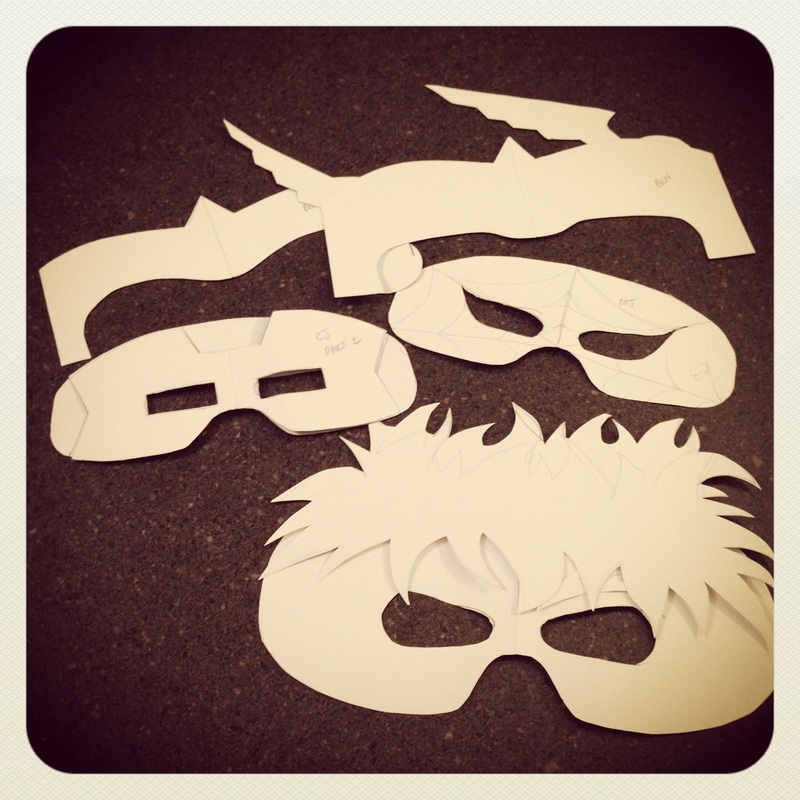
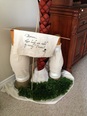
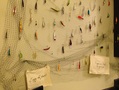
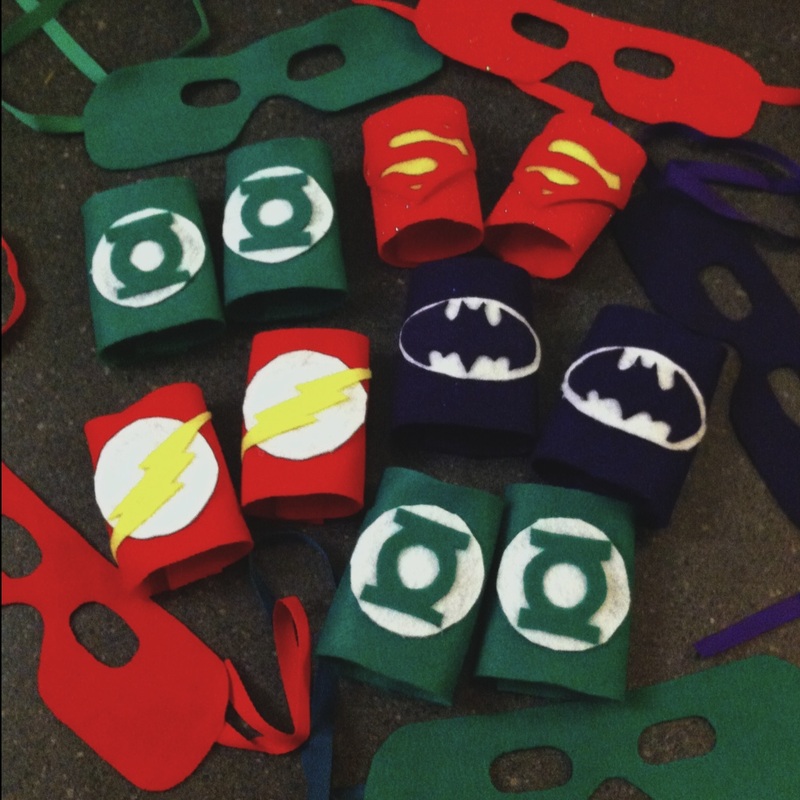
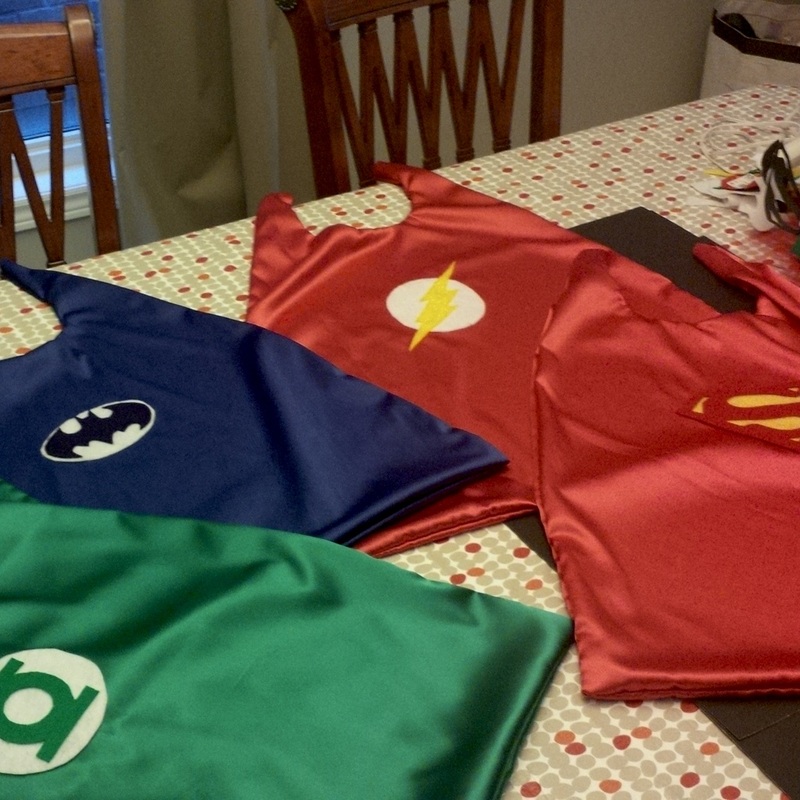
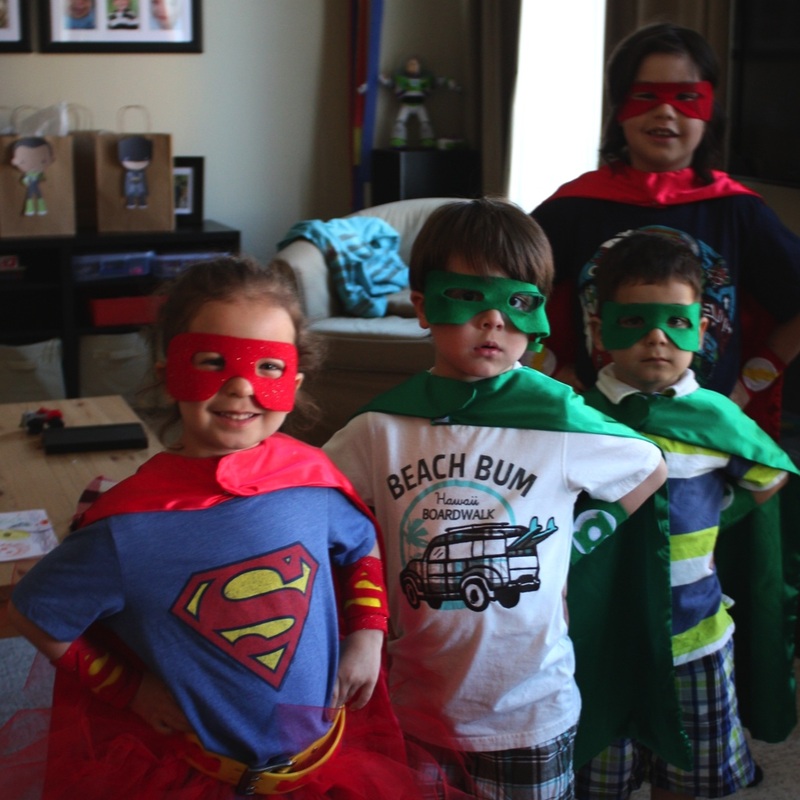
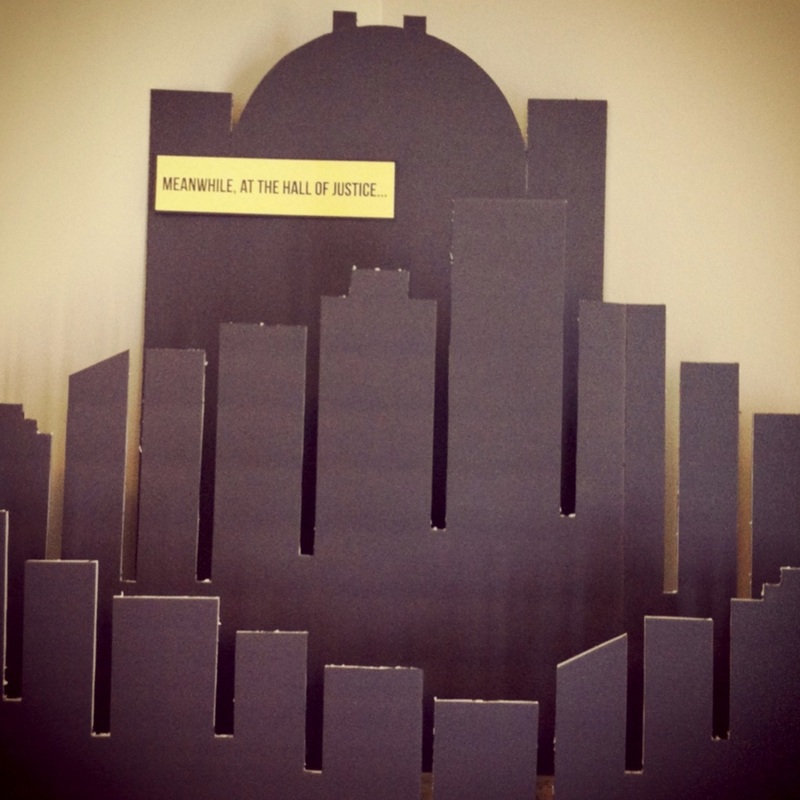
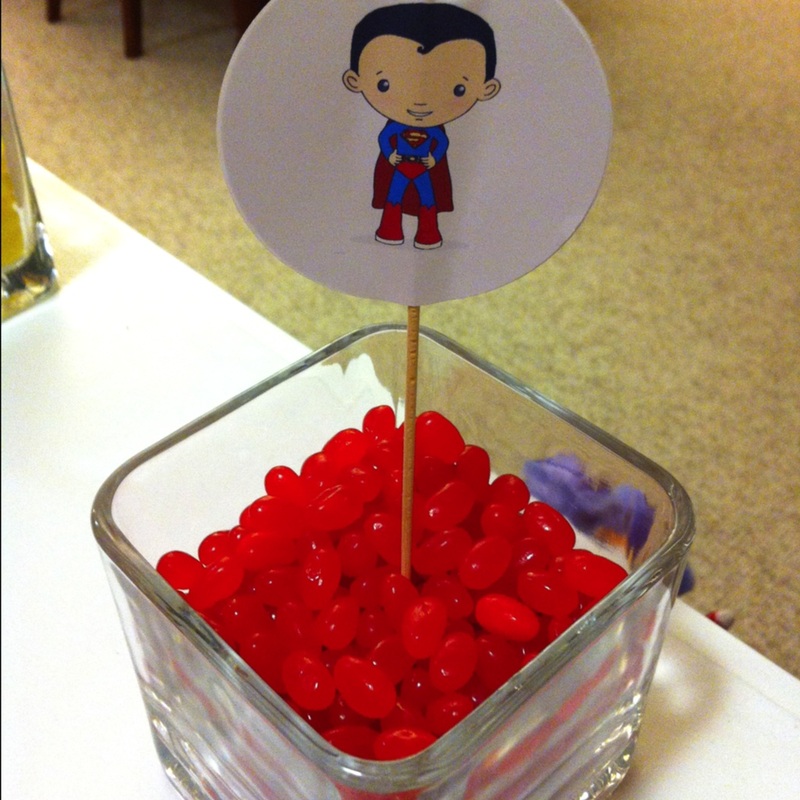
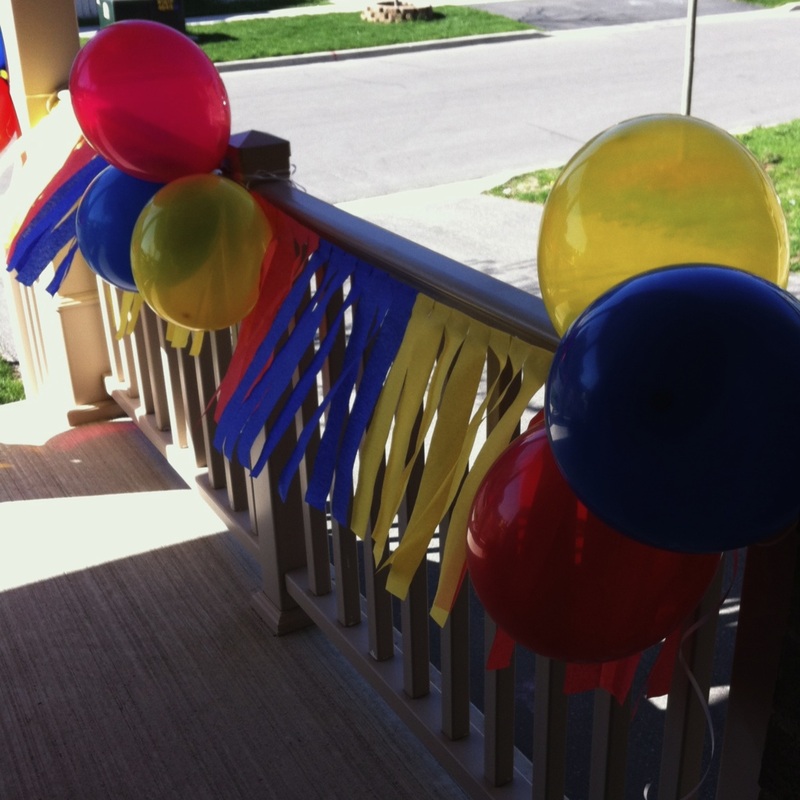
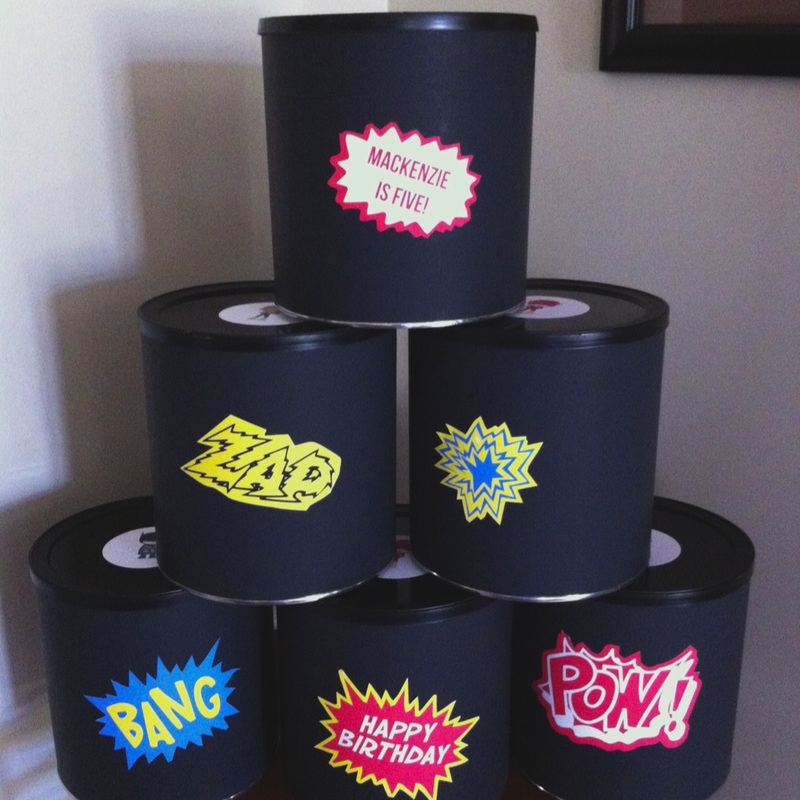
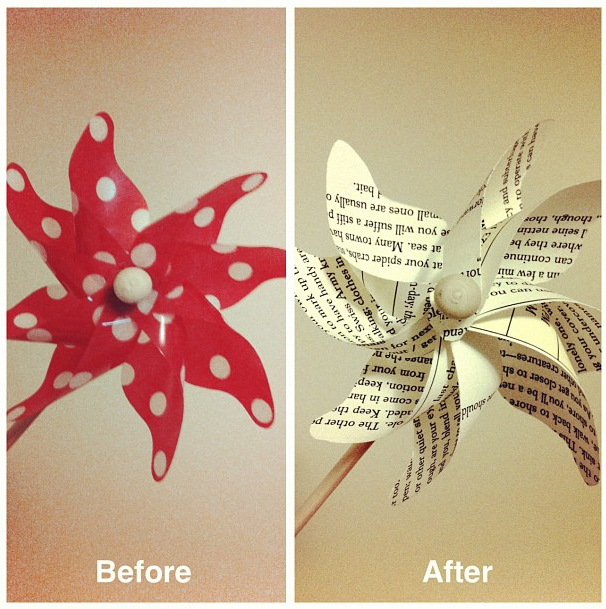
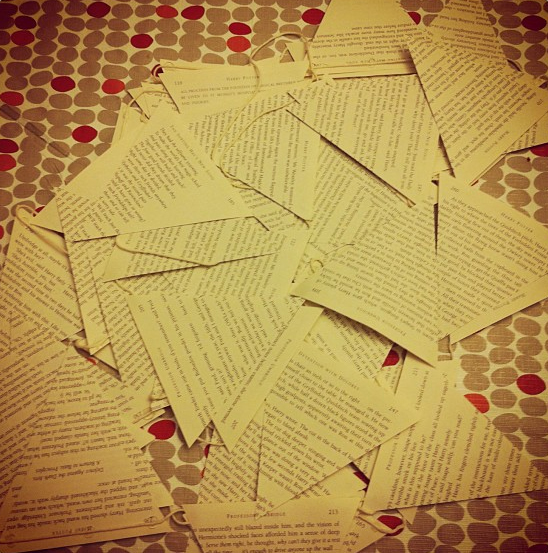
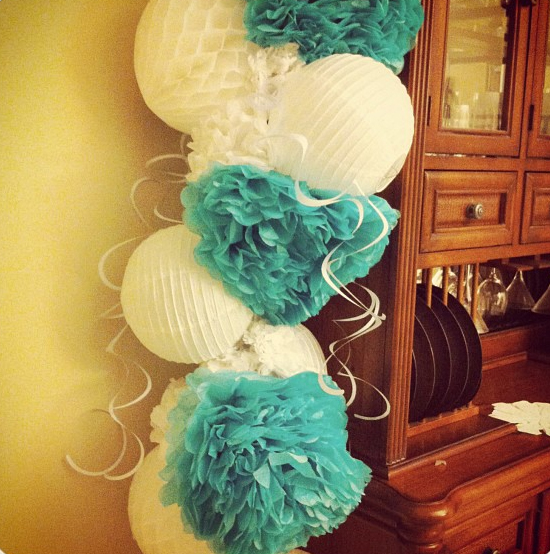
Let me know if you try it...I'd love to see your results! 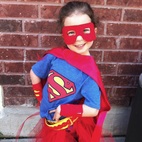 It's been almost three weeks and I still can't believe my little girl is five years old. The other thing I still can't believe is that my little girl who would be covered in pink, purple, jewels and glitter, if left to her own devices, requested a Super Girl party! This got me very excited because I grew up reading comic books with my dad and truth be told, comics are still on my Christmas list every year and I have these amazing posters hanging in our room...so a Super Girl Party? Whoo-hoo, yes please! You can't have super hero's without costumes and since her party was going to be a small one at home with mostly family, I decided to make all of the younger kids their own capes, cuffs and masks. They were all so excited to have them and they didn't take them off the entire time. Logos: I have a wealth of comic books so I simply photocopied the logos, enlarged/shrinked them as required, traced them onto felt, cut them out, hot glued them together and voila...superhero logos. Capes: I used wax paper that was folded in half, a large child size t-shirt as a guideline and freehand sketched the cape. I then cut it out and put it on my daughter to figure out the length for her. I add 3" if they were older than her and removed 3" if they were younger than her. I then used that as the pattern to make the actual capes. Super Girl Tutu: I found a $3.00 yellow belt at Walmart with double holes along the length that was perfect to thread the tule through. It was a random but lucky find and I think it turned out well. Cityscape: I purchased black bristol board from the dollar store and used a ruler to create a city scape for the food serving area (it took two and a half sheets). I used foam core board (also from the dollar store) to do the same over the fireplace, staggered the heights, hot glued them to scrap pieces of 2x4 to let them free stand. Justice League Characters: I used the amazing printables by Maria De Marco found on Paper & Pomegranates to make loot bag tags, jelly bean markers and straw tags (paper straws were purchased from Omiyage). Games: One of the games was a simple can toss using bean bags. I simply wrapped empty coffee cans, glued on a few 'bangs' and 'pows' that I found on One Charming Party and it was very entertaining. Finishing Touches: We topped everything off with balloons, paper balls and streamers. She loved all of it! 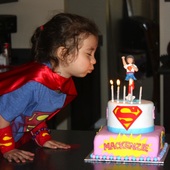 Everything came together nicely, the weather was absolutely perfect, all the kids loved their costumes and my little girl was not only a Super Girl but Super Happy and Super Grateful. Thank you for all the wonderful comments on instagram of my in progress pictures. Thank you to all our guests who really made the day wonderful and special. Happy 5th Birthday my sweet Super Girl! 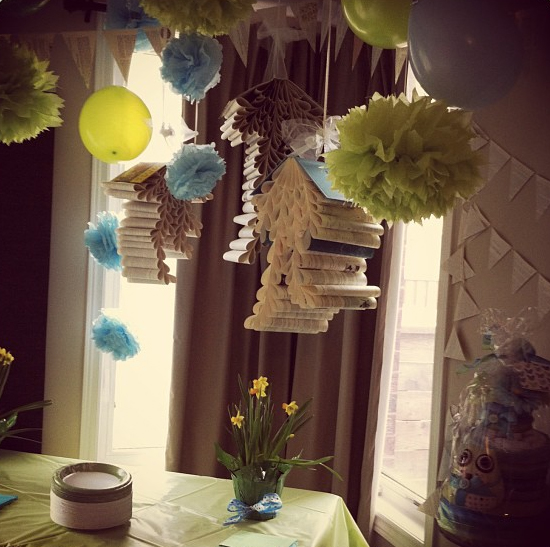 It was my pleasure to have recently opened the doors of our home for my lovely sister-in-law's baby shower. She loves to read and so it was only natural to make her shower a book themed shower. The actual hostess (also her childhood friend) is from out of town, so I provided the local home and some of the decor while she made the invites, co-ordinated the food, games and added her touch to the decorations on the day of. It was a great collaboration! During the last few weeks I have had some fun creating some book themed decorations. If you have been following me instagram you've seen some of these pictures already but if you haven't, here are a few pictures and details about what I created for the baby shower.
The day of was great, the house looked great, the food was great, the company was great and my sister-in-law was truly showered in love and gifts for her first baby to be! I certainly enjoyed myself, the food and the sangria!
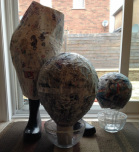
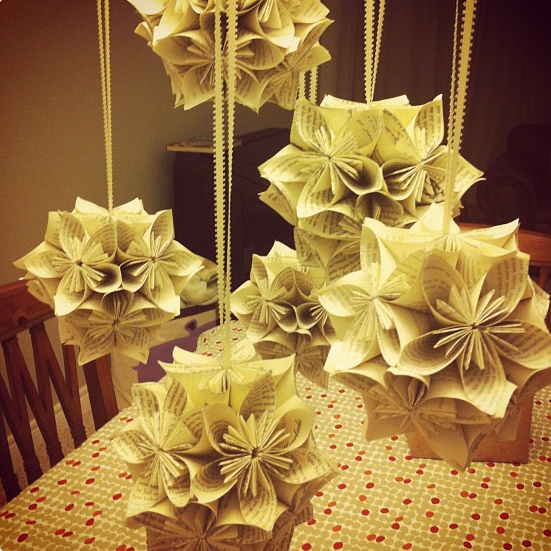
It was fun making all these items and I appreciate all the wonderful comments while my creations were in the works. I think what was best about the process was that the 4 projects (mobiles, balls, pinwheels and banner) were all made by the three books I purchased for $8. I think that is pretty good investment and I think it all turned out really well. What do you think? |
WELCOME!This is the place where I share my creative projects, endeavors and the stories that inspire my prints. LET'S CONNECT!YOU CAN ALSO FIND US ONFEATURED HERE


CATEGORIES
All
 THE SMALL PRINTAll images, designs and content, unless noted otherwise, are ©Karen Gonzalez-Jansen. |