|
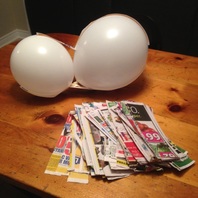
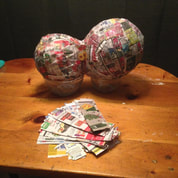
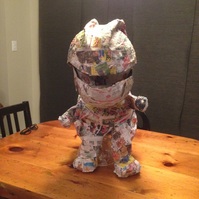
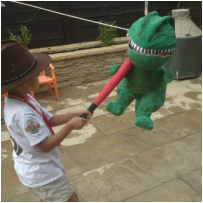
We celebrated my son's birthday a little while ago and threw him a Jurassic Park inspired party. As per tradition, I made his piñata which this year was a T-rex. I'll be posting highlights from the party in the next few days but right now here are the basics on how I created this cute but slightly scary T-rex piñata. 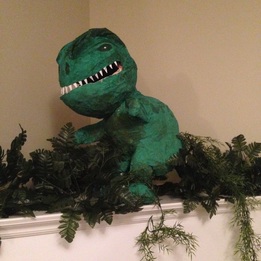 What You Need
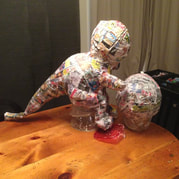
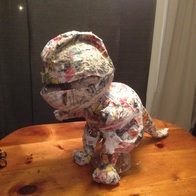
Head and Jaws
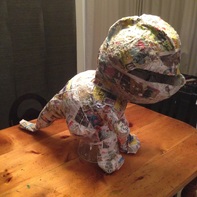
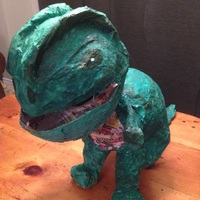
Finishing Touches
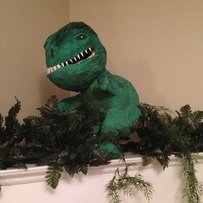
That is it...it only took a few days to create it and the birthday boy absolutely loved it. If you have any questions on the process, please post them in the comments and I will answer them as best I can. If you try it, let me know how it goes.
0 Comments
Your comment will be posted after it is approved.
Leave a Reply. |
WELCOME!This is the place where I share my creative projects, endeavors and the stories that inspire my prints. LET'S CONNECT!YOU CAN ALSO FIND US ONFEATURED HERE


CATEGORIES
All
 THE SMALL PRINTAll images, designs and content, unless noted otherwise, are ©Karen Gonzalez-Jansen. |